
THE SOURDOUGH RECIPE YOU’VE ALWAYS WANTED TO TRY
While I love to cook, baking bread, sourdough in particular is a real passion of mine. Similar to canning, there is a level of precision required in baking which eliminates a certain degree of flexibility in recipes. Weight instead of volume is used. A commitment of hours, not minutes. We part ways with All-Purpose in favor of bread flour, higher in gluten and protein. And there is that one exotic ingredient which many a neophyte baker fears: the wild yeast sourdough starter, also known as levain. Today I will walk you through my basic procedure for baking two loaves of French/Italian-style sourdough bread. For information on purchasing and maintaining a sourdough starter I refer you to King Arthur Flour, a wonderful resource for bakers and where I buy all my flour.
I’ll spare you further poetry – there are plenty of baking-as-meditation personal narratives out there. However, for further reading on the topic from a technical standpoint I highly recommend Tartine Bread by Chad Robertson and Eric Wolfinger. Without further ado…
You will need: Digital kitchen scale, bench knife, large non-reactive container for bulk fermentation, tea towels, cast-iron or Dutch oven-type baking vessel (I use Émile Henry bakeware made from high fired Burgundy clay or a Le Creuset cast-iron Dutch oven), and razor blade or baking lame.
| Servings |
loaves
|
- 700 grams Water + 50 grams water
- 1000 grams Bread flour + additional flour for dusting
- 20 grams salt
- Rice flour
- Polenta
Ingredients
|
|
- Autolyse. Heat 700 g (non-chlorinated/bottled) water to about 80°F. Add 200 g of sourdough starter to water, stir to combine. Add 1000 g flour to a large non-reactive (e.g., plastic, ceramic, glass) container and mix in the water-starter until completely incorporated. Cover loosely with a tea towel and place somewhere warm such as an empty oven; this is a draft-free space and the slight heat from the pilot light will encourage the yeast. Rest for 25-40 minutes.
- Bulk Fermentation. After 25-40 minutes rub 20 g of salt on the surface of the dough. Use 50 g of water to help gently massage the salt into the dough. I use a silicone spatula to do the job. Next, fold the dough onto itself (like closing an open book) with a spatula or bench knife four times: left to right, top to bottom, right to left, bottom to top. This doesn’t have to be perfect. It is a very gentle method of kneading which will maintain pockets of air and give your bread a nice crumb. Keep the dough in its container in the unlit oven and repeat this folding every 30 minutes for 2 hours. Let rest an additional 1-2 hours without folding.
- Bench Rest. After the bulk fermentation, remove the dough onto an unfloured surface and divide into two even portions with a bench knife. The unfloured surface will create tension which will allow you to gently shape the loaves (I use a silicone Silpat mat on my counter to create a neat work surface). Use the bench knife to fold the edges of the dough under itself just enough to create a taught surface. Cover with a heavily floured tea towel (you may want to dust the loaves with flour if your tea towel isn’t completely saturated with flour) and let rest 20-30 minutes on the counter. Flour your work surface. With the help of your bench knife, very gently pull the right side of the dough out and fold to the middle of the dough. Perform the same folding technique as you did during bulk fermentation: left to right, top to bottom, right to left, bottom to top. Use the bench knife to fold the edges of the dough under itself, shaping the loaf as you go. Repeat with other dough portion. Dust loaves with a 50/50 mixture of rice flour and bread flour. Place a heavily floured tea towel in a bowl roughly the same shape as your baking vessel. Sprinkle a bit of polenta on the towel (this will further prevent the dough sticking). Gently flip your loaf into the bowl so that the folded-under bottom is now the top. Don’t worry that it is wrinkly and looks misshapen: you will flip the dough once more before baking. Dust the top of the dough with the 50/50 mixture and drape the overhanging towel on top of the loaf. Let rest 3-4 hours on your counter or unlit oven (or 8-12 hours in the refrigerator).
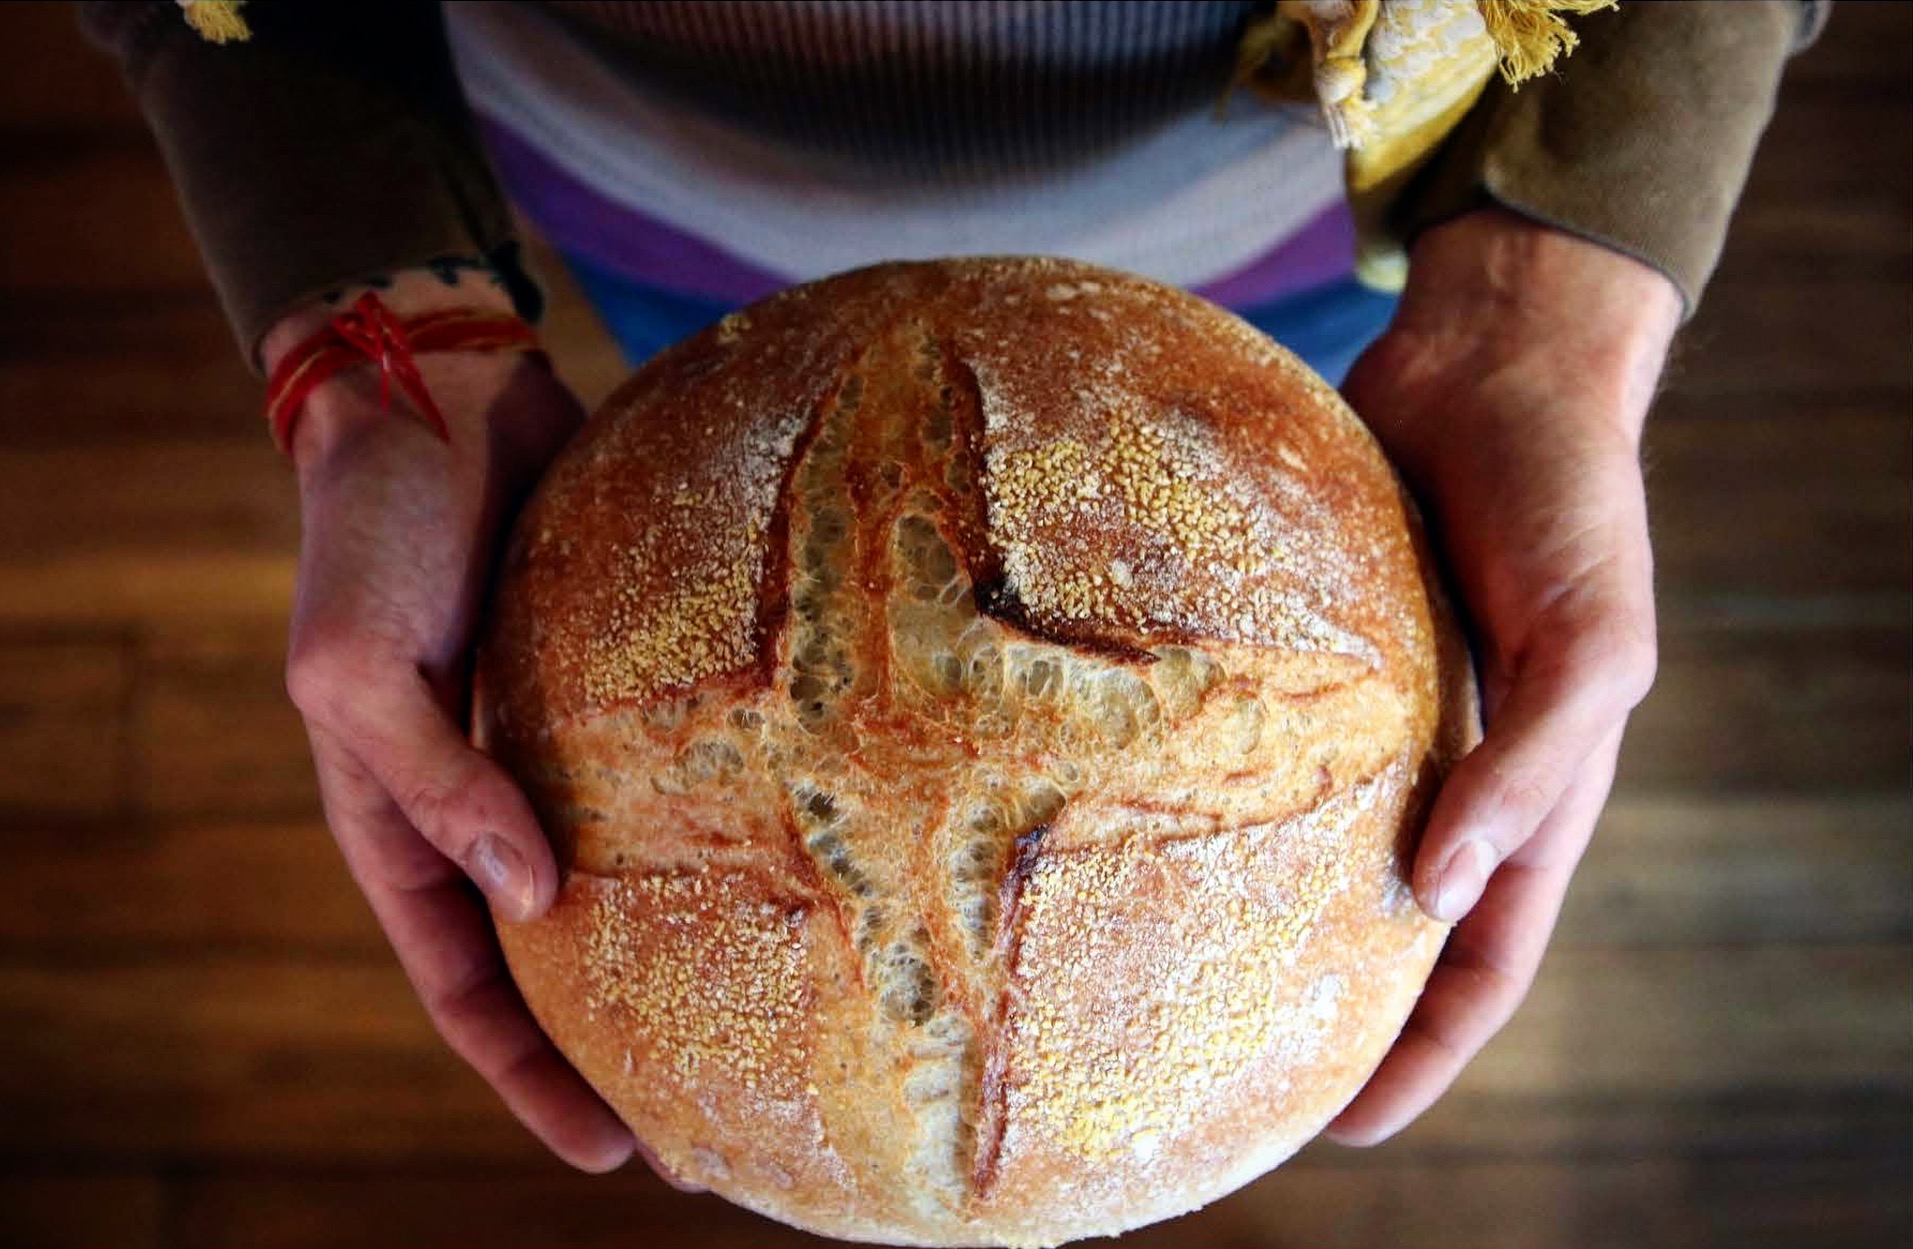
- Thirty minutes before your bench rest is complete, remove the rising bread from the unlit oven and preheat the oven to 500°F with your baking vessel(s) inside. When the oven is completely preheated, carefully remove the vessel and take of its lid. Fold back the tea towel from the rising dough and gently flip the bread inside the hot vessel (the bottom is once again the top). Quickly make deep slashes into the surface of the bread with your razor blade. This will allow steam to escape while baking which will create a better texture and it gives your bread that professional look, too. Place lid back on the vessel, place the vessel in the oven and immediately lower the heat to 450°F. After 20 minutes remove the lid and bake an additional 20 minutes. Remove vessel from oven and immediately place bread on a wire rack. Be patient: allowing the bread to cool completely before slicing will ensure a perfect texture.
Looks fantastic!!!