Sophisticated & Luxurious Semi-Homemade DIY Curtain Tutorial
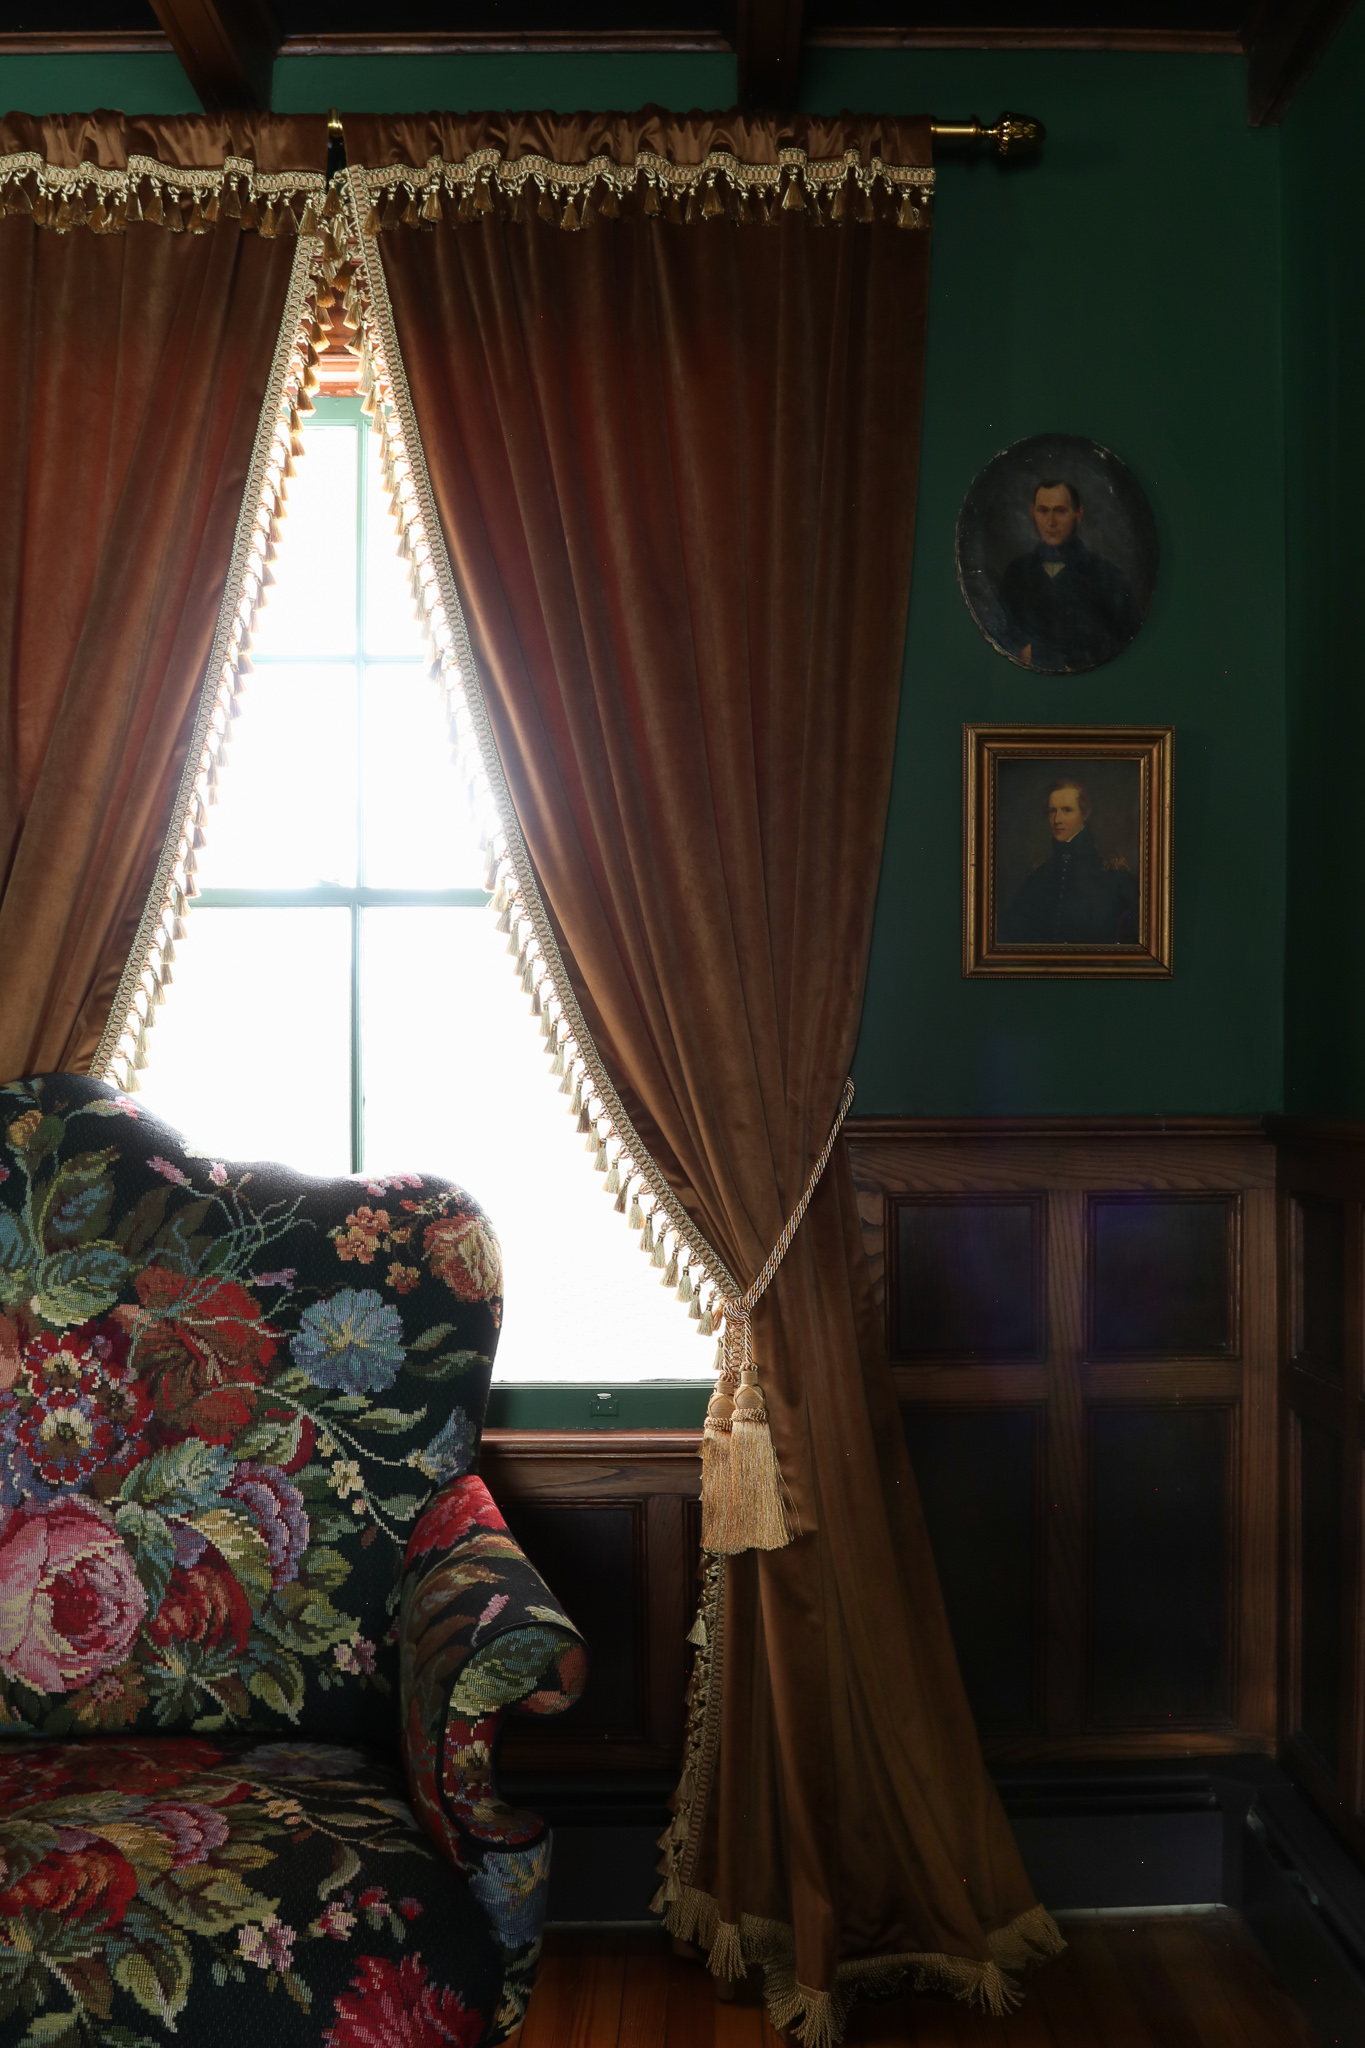
This time last year we decided to do a little refresh in our Great Room. However, with pandemic disruptions and our decision to rework and expand the vegetable garden, among other outdoor projects, it got pushed aside. Then, after the holidays, we focused our attention inside and started with paint. The color of choice—and a decision made last year—was a deep moody green called Duck by Farrow & Ball’s Natural History Museum collection. Built-in 1800, the Great Room is the hub of our house and historically it would have been used for entertaining. It’s also the room that sold us on the house because of its scale and untouched American chestnut moldings and coffered ceiling. If you know anything from following us, our style is pretty classic, inspired by 19th-century design and our home’s history.
The second most important element for this room (the first being the paint color) was the drapery. We knew we wanted something more substantial than sheers that could work with every season but that could also help in shielding the drafts from original 200-year-old windows. We were totally inspired by a weekend jaunt to Hudson, NY. We stayed at the newly opened and absolutely gorgeous The Maker Hotel. I always admire design that truly embraces the history of the building and the Maker embodies this ethos completely with a moody and classic esthetic that has the same feeling like our house. Among many things, the drapery throughout was simple yet lux—deep colors, plush velvet, and gorgeous trimmings that bring one back to the iconic style of the early 19th-century.
I’ve done quite a bit of research lately on drapery. As you can imagine, drapery is extremely expensive, especially when it’s custom and you need 18 panels for multiple non-standard sized windows! While I do feel like it’s a wise investment and, like a good pair of heels or handbag, a dramatic statement piece, there’s also the budget to consider. This is when I decided I could tackle making drapes myself, all the while not having them look “crafty”. Now, I do have some sewing experience (thank you, art school) but I’m no expert—but you really don’t have to be. If you can sew a basic stitch on the sewing machine, you’re golden. Initially, I was going to make the drapes from scratch with fabric, blackout liner, and all the trim. After further research, though, the velvet fabric I found, with liner, trim, and all the labor worked out to be quite expensive. Good quality drapery fabric could range from $50-150 per yard, and again, I would need 54+ yards for all the panels, not to mention all the trim. After those dreams were shattered I put my Sandra Lee hat on and went for a “semi-homemade” approach. What if I find inexpensive drapery panels (ready to be hung) and added some beautiful trim to make them feel more luxurious and expensive? I dug around the internet to look at pricing for drapes from lower-end, middle-tier, and high-end brands. Right off the bat, the high-end was beautiful but too expensive and honestly, just as costly as going the custom-made route. When looking at lower-priced panels compared to the mid-tier there wasn’t much difference between fabric quality with the exception of maybe more color options and well-recognized branding. Coming from someone who has worked my whole career in product design and development, I’m 90% sure the low- and mid-brands are using the same exact factories. I know, it’s frustrating but it happens all the time, especially in the fashion world.
After ordering some swatch samples to make sure my comparisons were accurate, I found the perfect drapery panels from Overstock. Their size options were perfect; the velvet, including the blackout panel was of a more than adequate quality; a neutral color we loved was available; and the price point at about $40 per panel fit our budget. Just so you know, the mid-tier brands that looked pretty darn close to each other were about $80-$150 a panel. I’ll link the panels we purchased below and please note this project was not sponsored by any brands.
Heritage Plush Velvet Single Curtain Panel – Spiced Rum
Now, the fun part. Trimmings! The drapery panels “as-is” are totally fine and in the right room setting, just as beautiful. As we restore our house we always think about “what did the house look like in the early 1800s?” And that’s the starting point to any design project we start at the farmhouse. Taking into consideration the year and region in which your house was built is really important, but its unique architectural details will also tell you a lot about how your home was originally styled. As much as I would love it, our house was not built in the south of France and it’s clearly not Versailles! I think it’s really important to do your research on the history of your house, the style, and also the origins of where it was built.
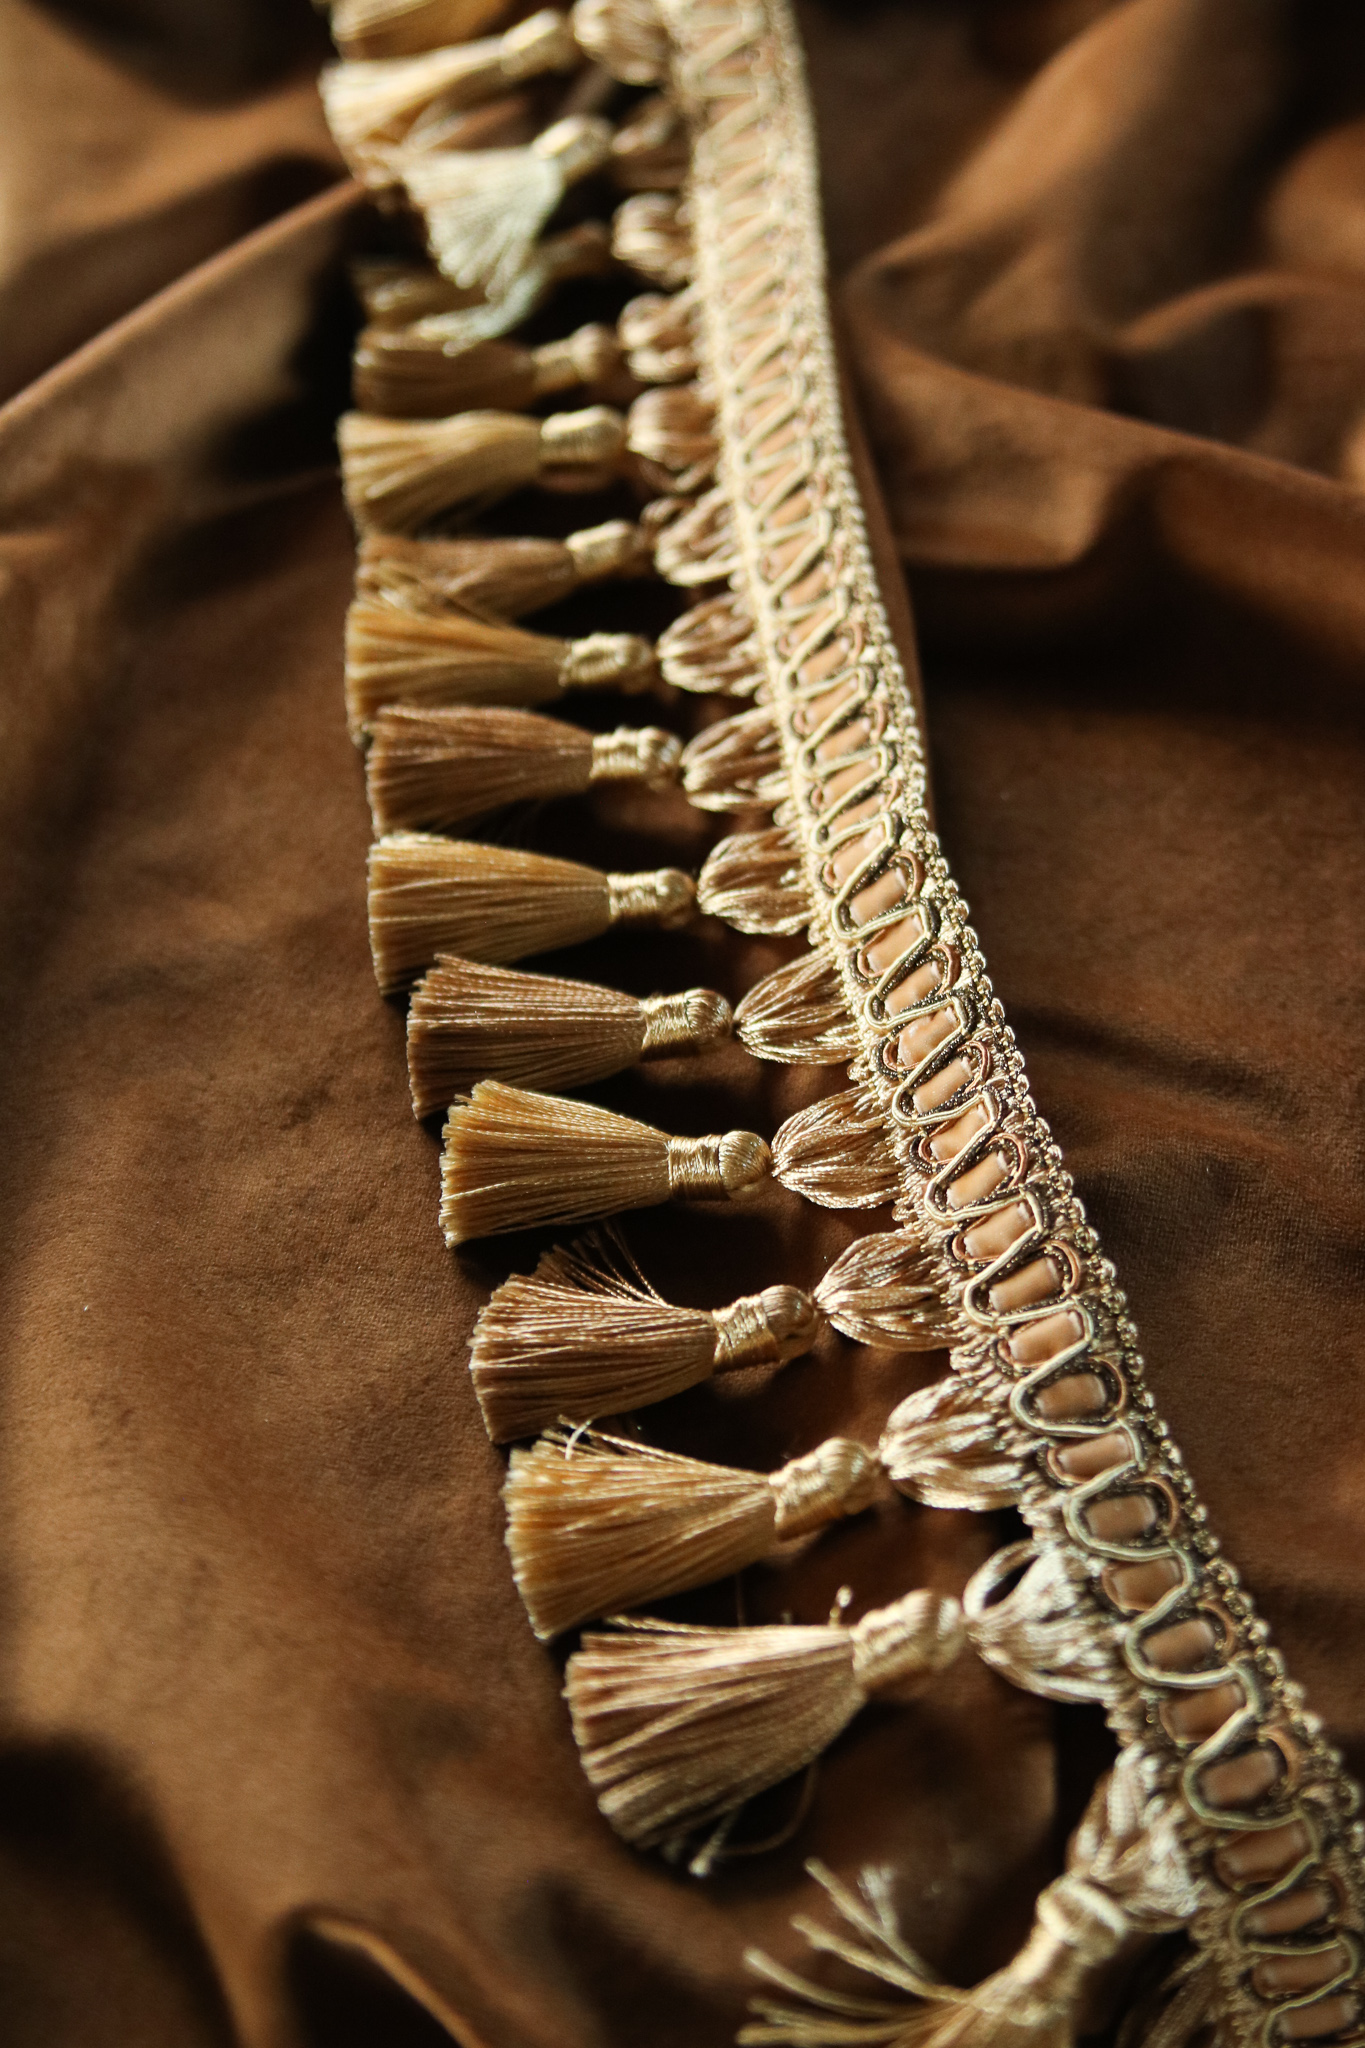
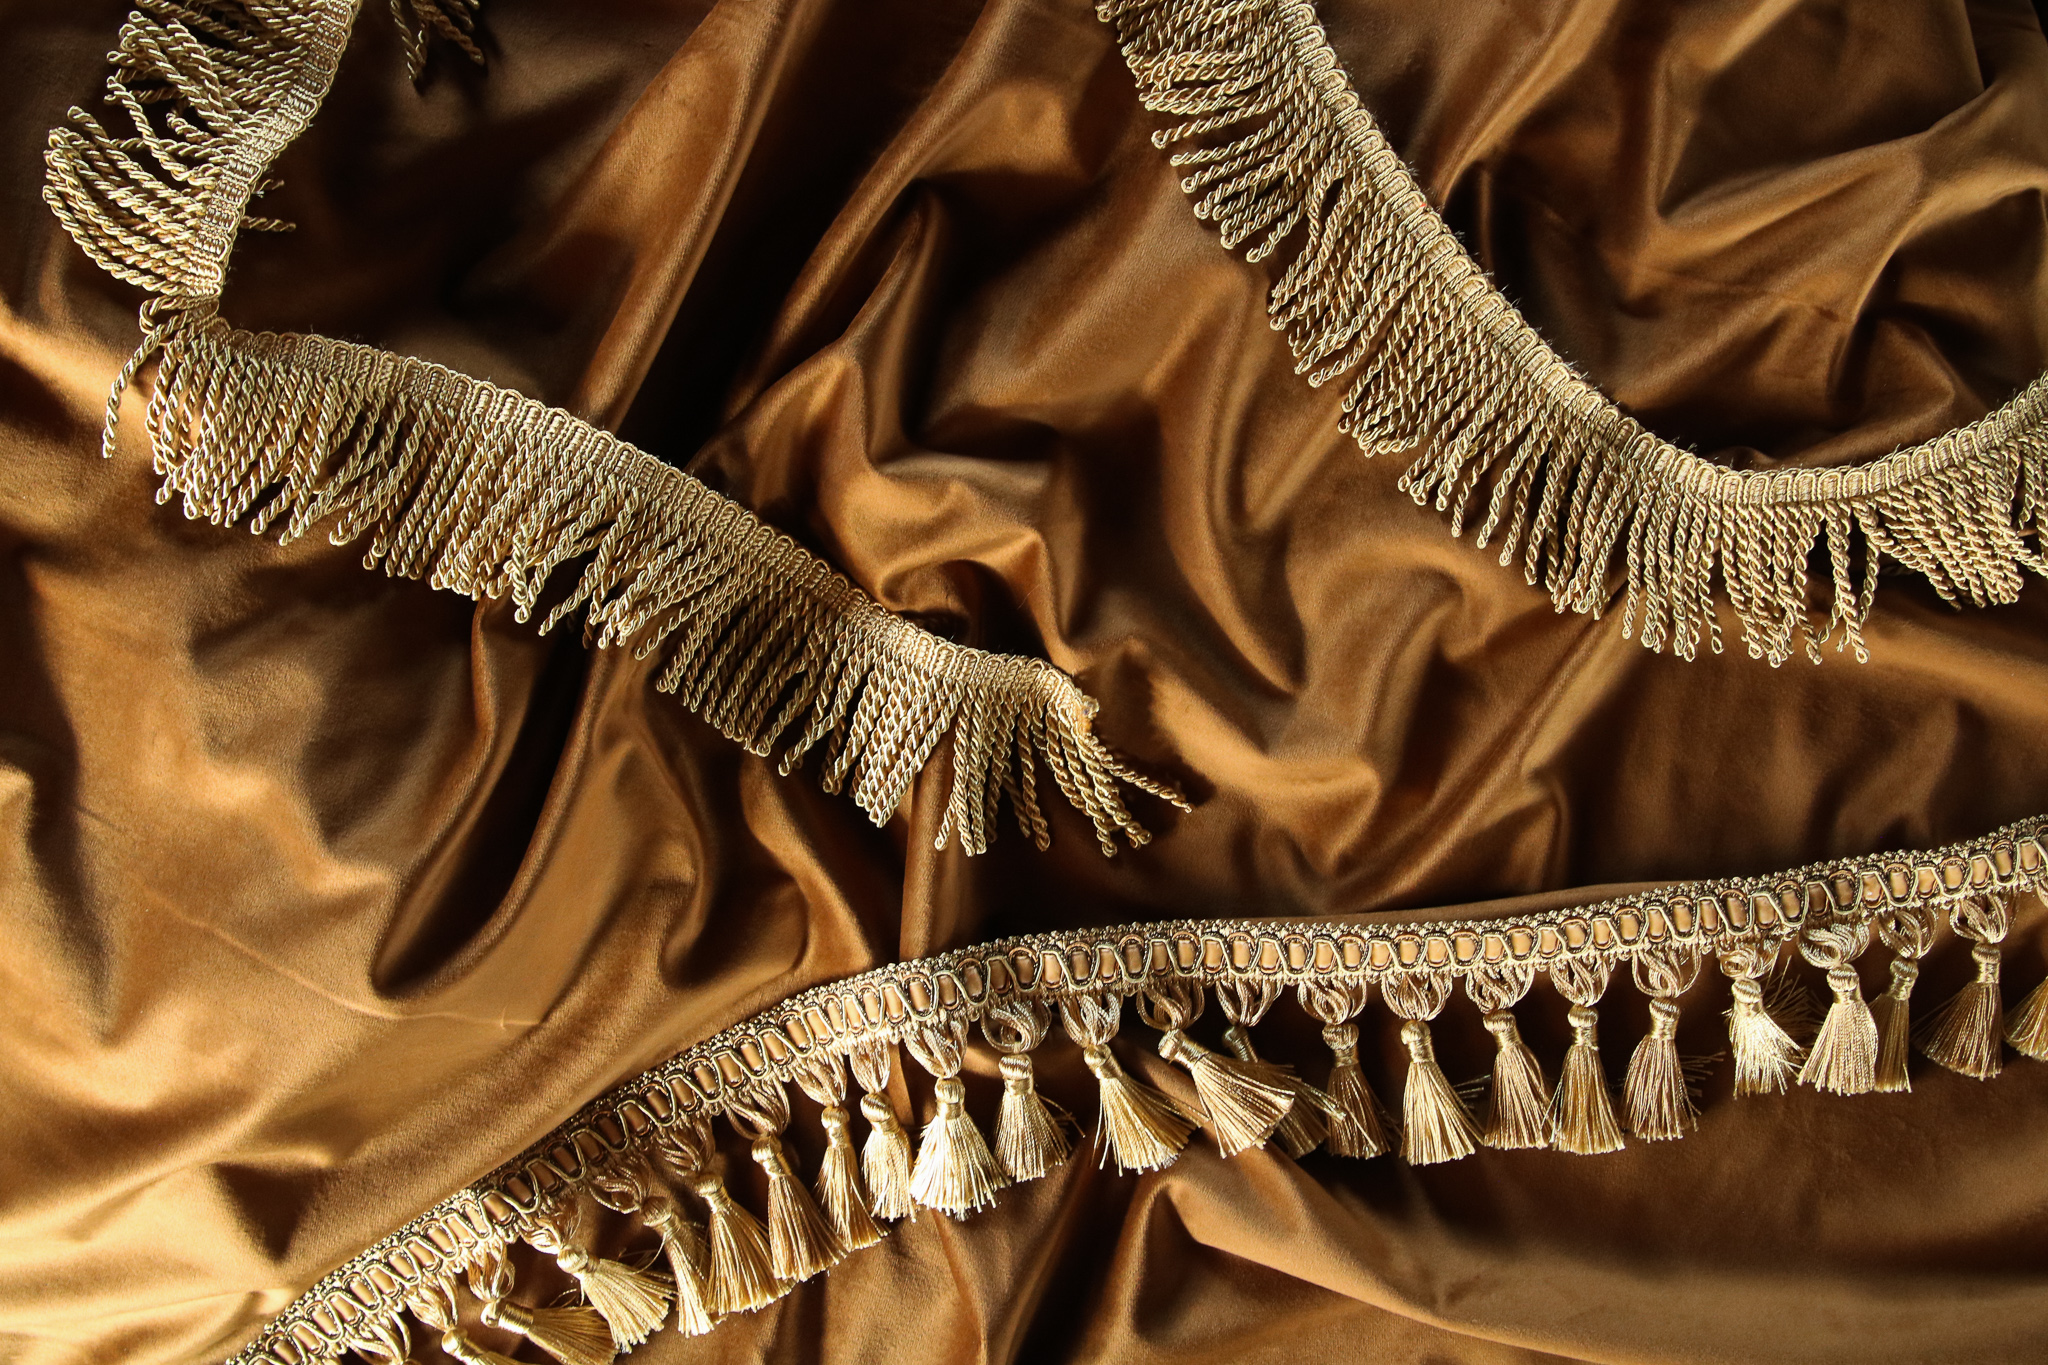
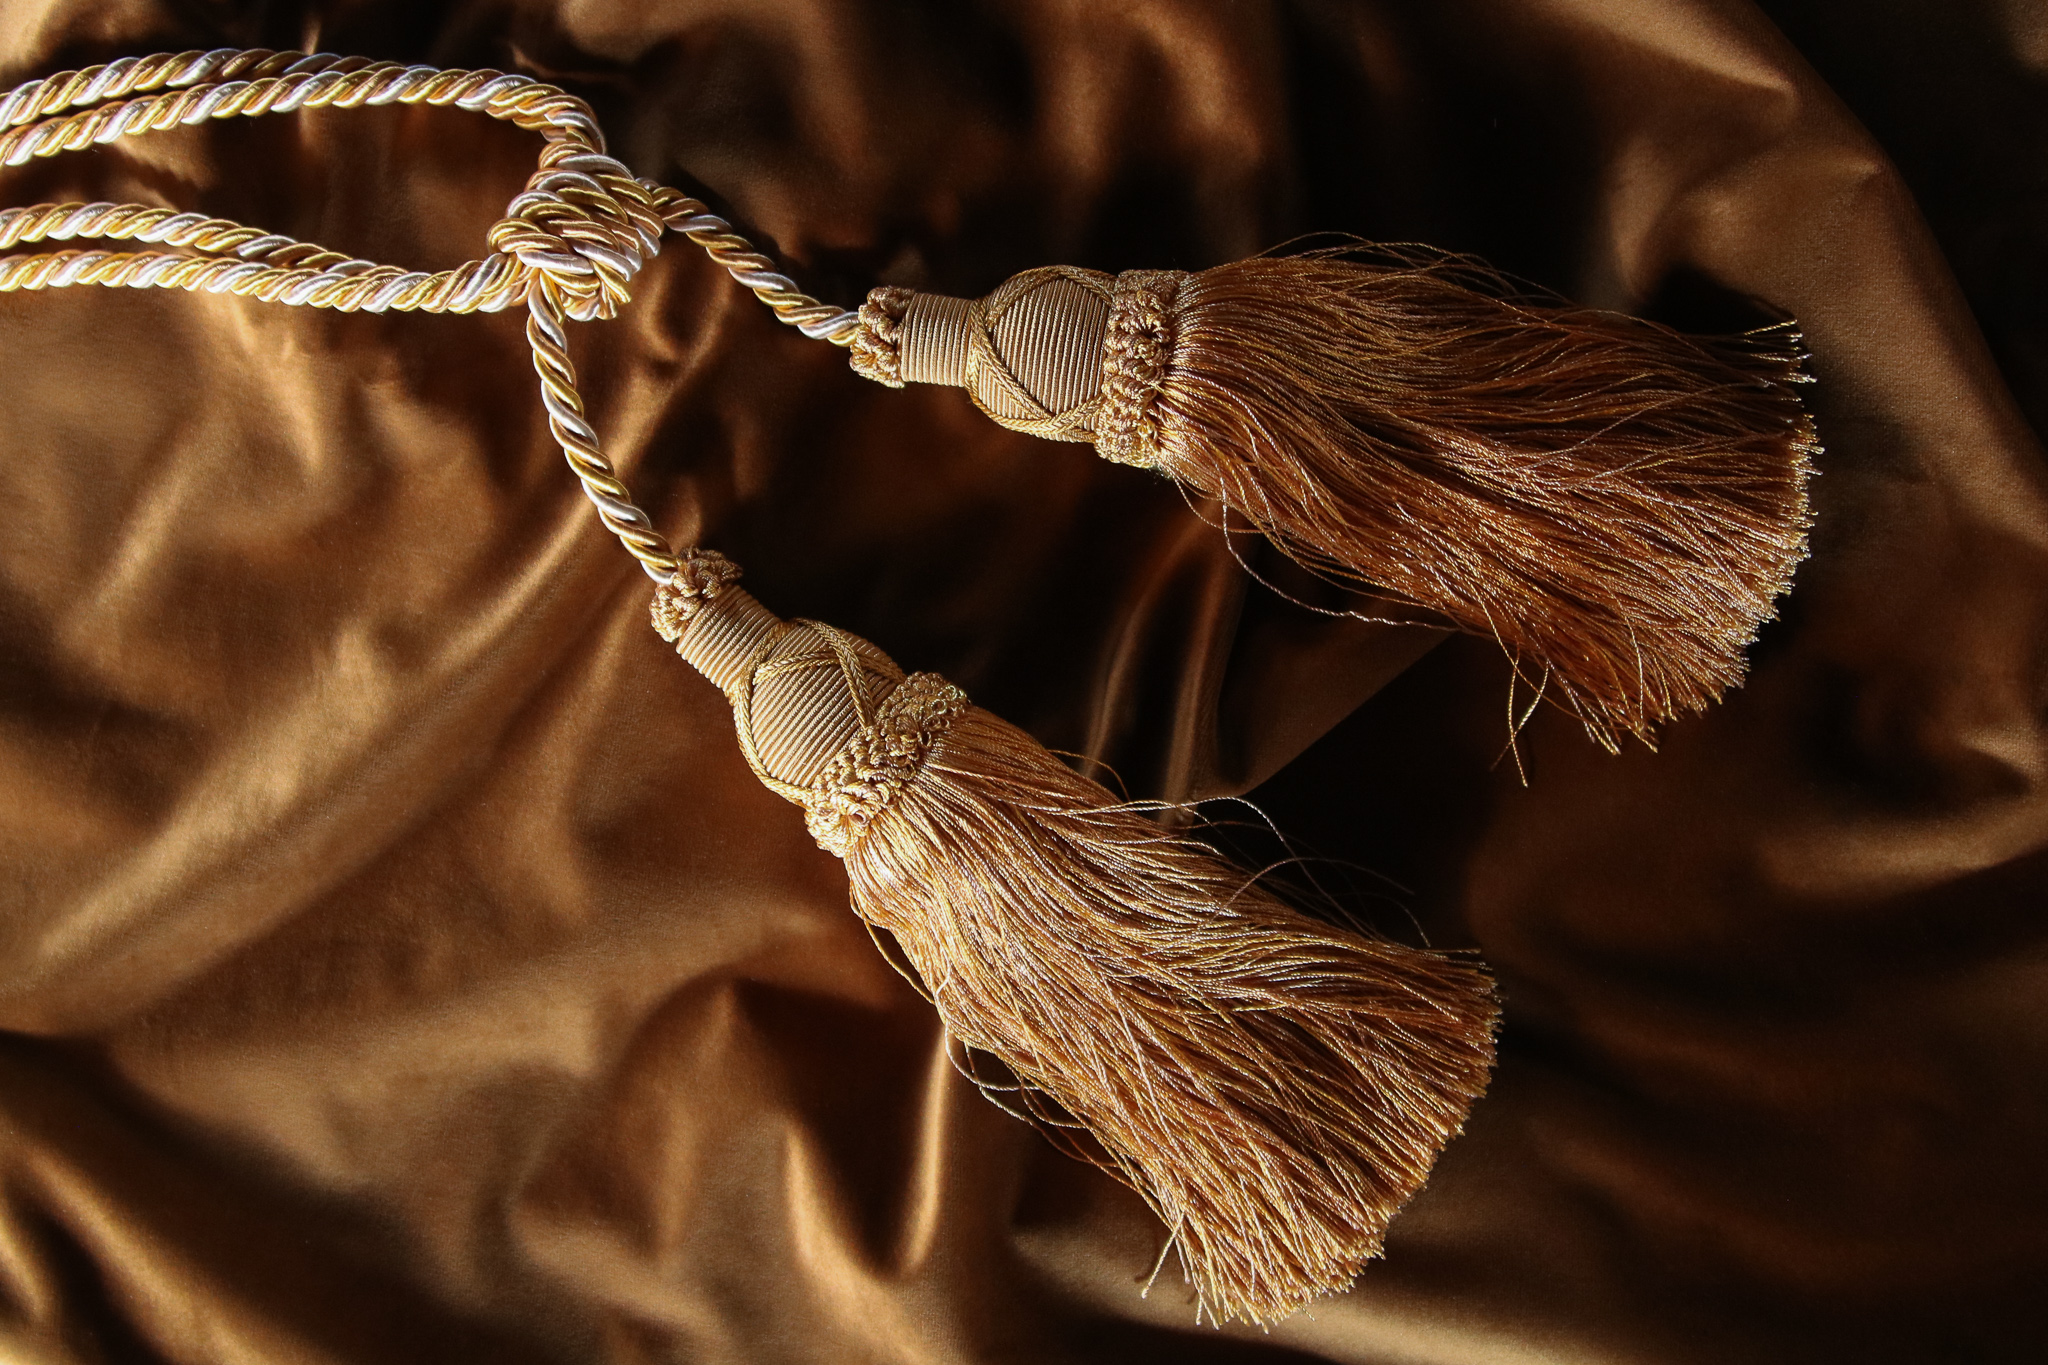
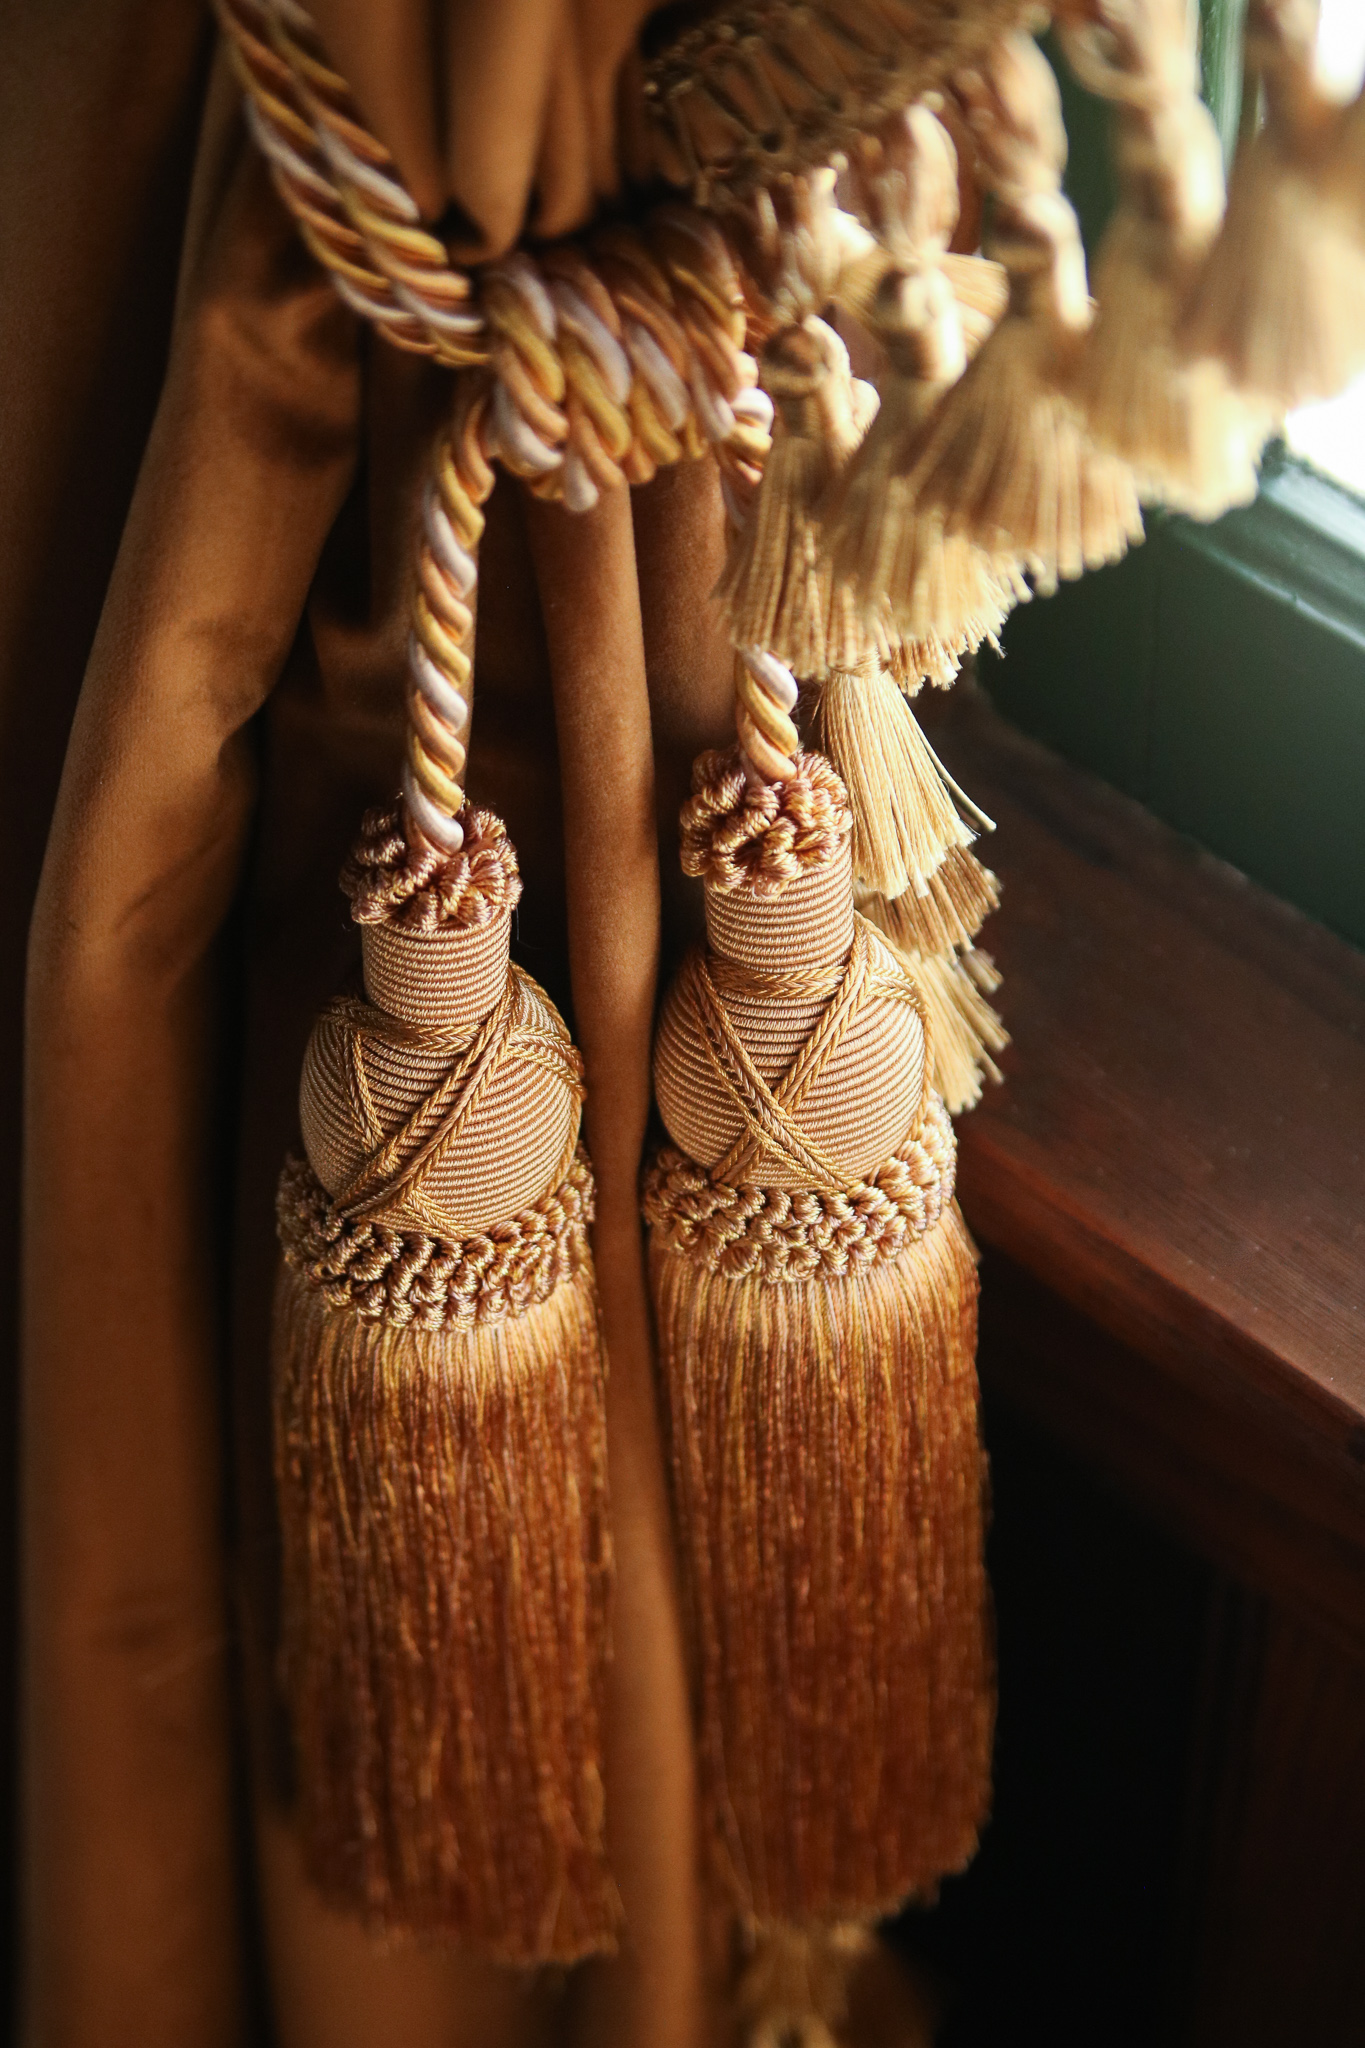
For the drapes, we knew we wanted to incorporate some classic 19th-century style, and who doesn’t love some beautiful tassel and bullion fringe!? Trimming does get expensive, but I believe this is worth the investment as it’s going to make your standard drapes a statement piece that give you a luxurious custom look. We used DecorPro for our trimmings and after a lot of research, they had exactly what we were looking for and at a reasonable price. If you need a lot of yardage, another option is to go factory direct. This will save you a lot of money but keep in mind you will have a high minimum order quantity and overseas shipping can get costly. We could have gone this route but found exactly what we were looking for through DecorPro. I’ll link our selections below.
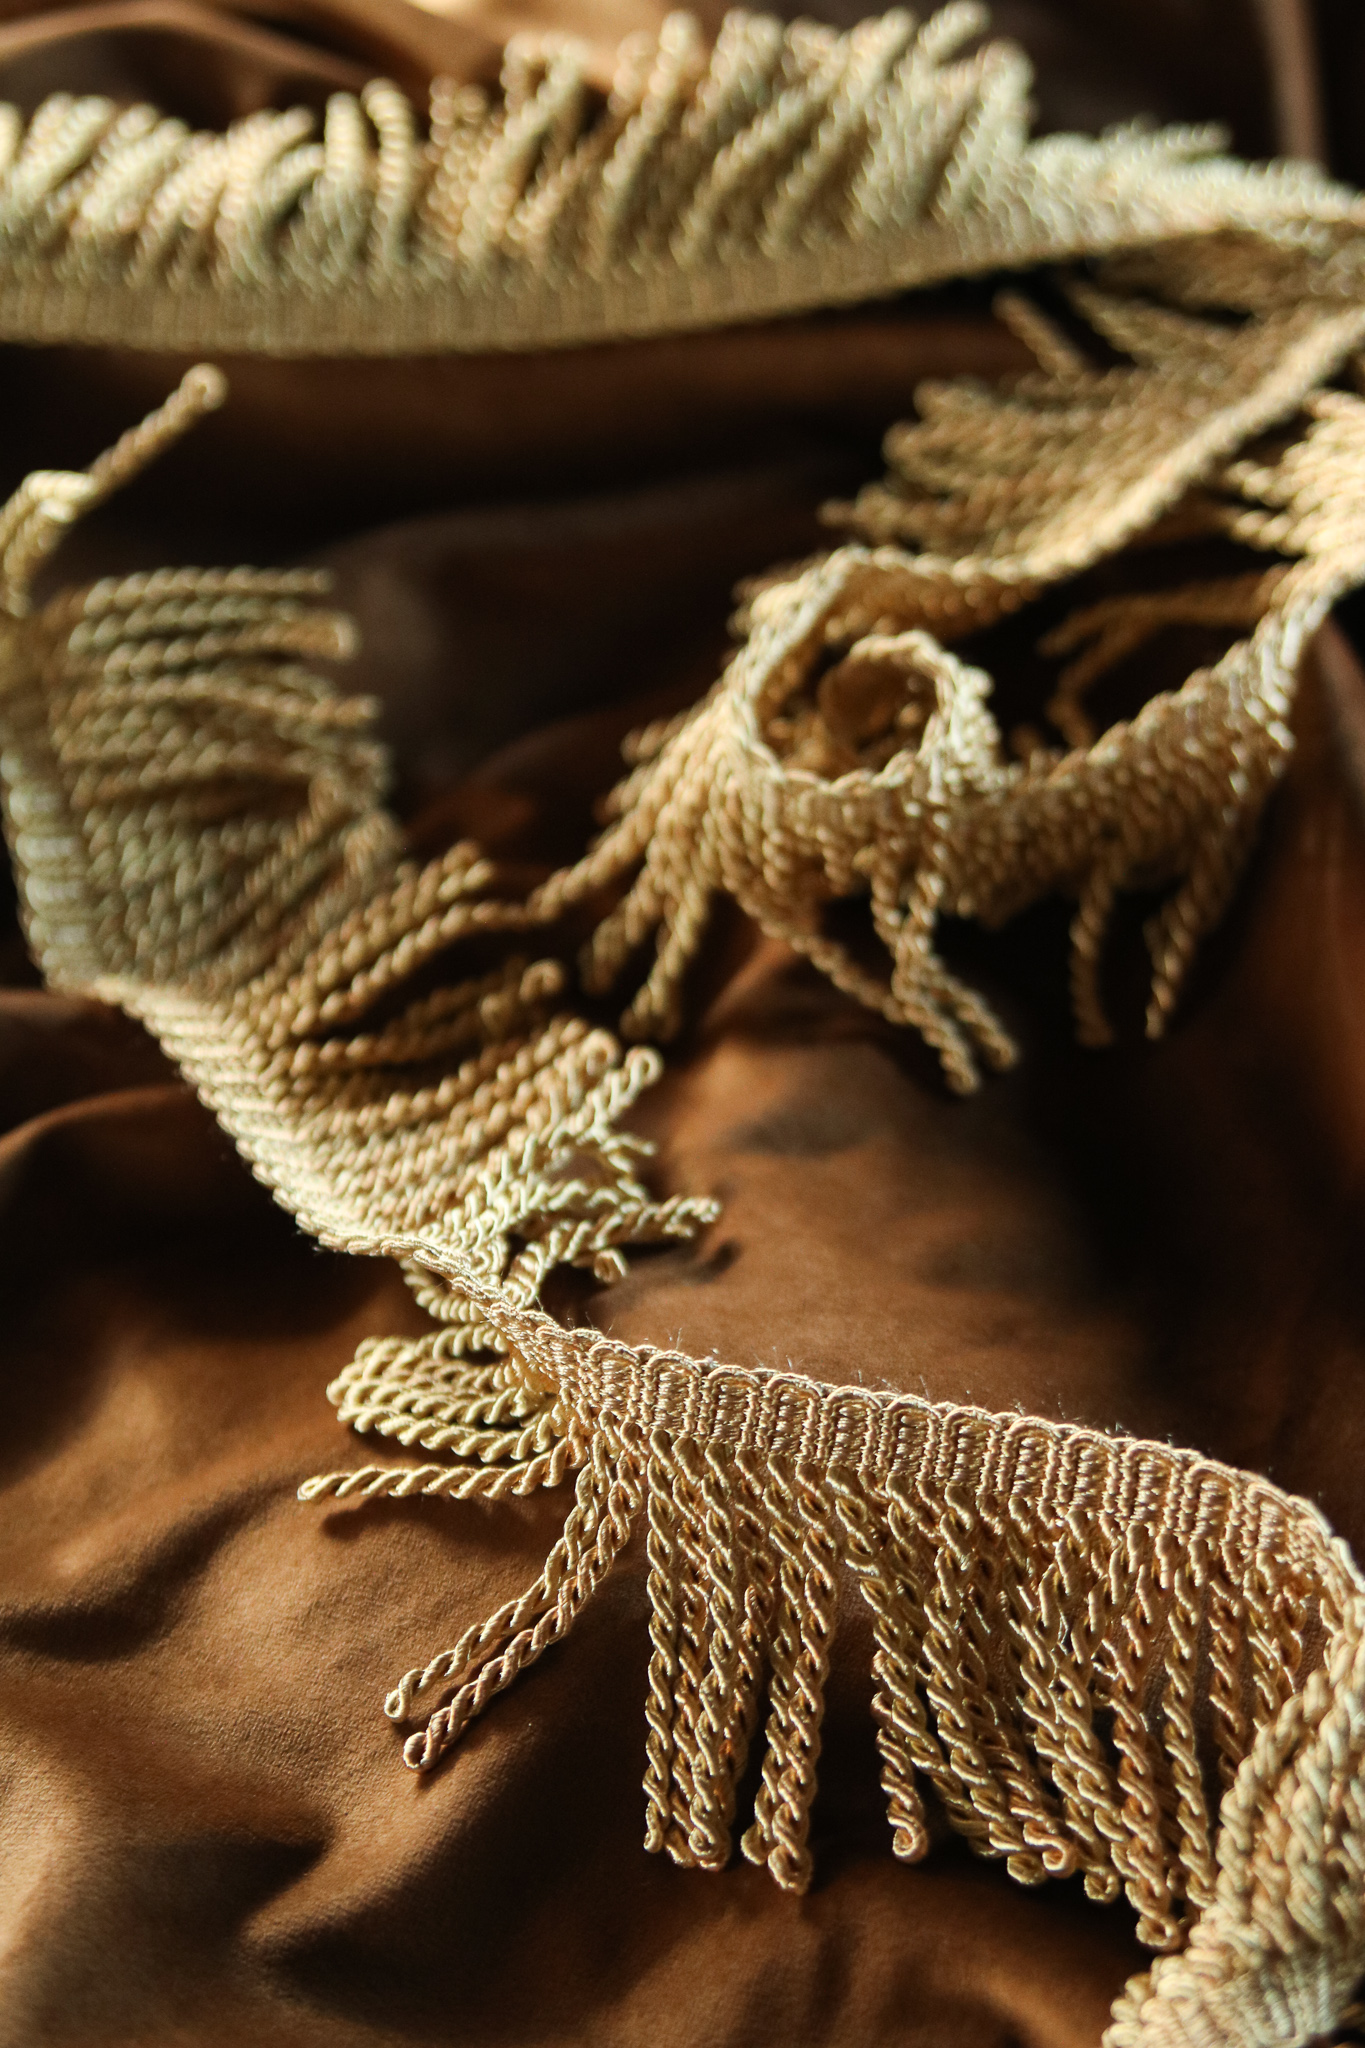
Light Gold Bullion Fringe Trim
Antique gold Drapery Double Tassel Tieback
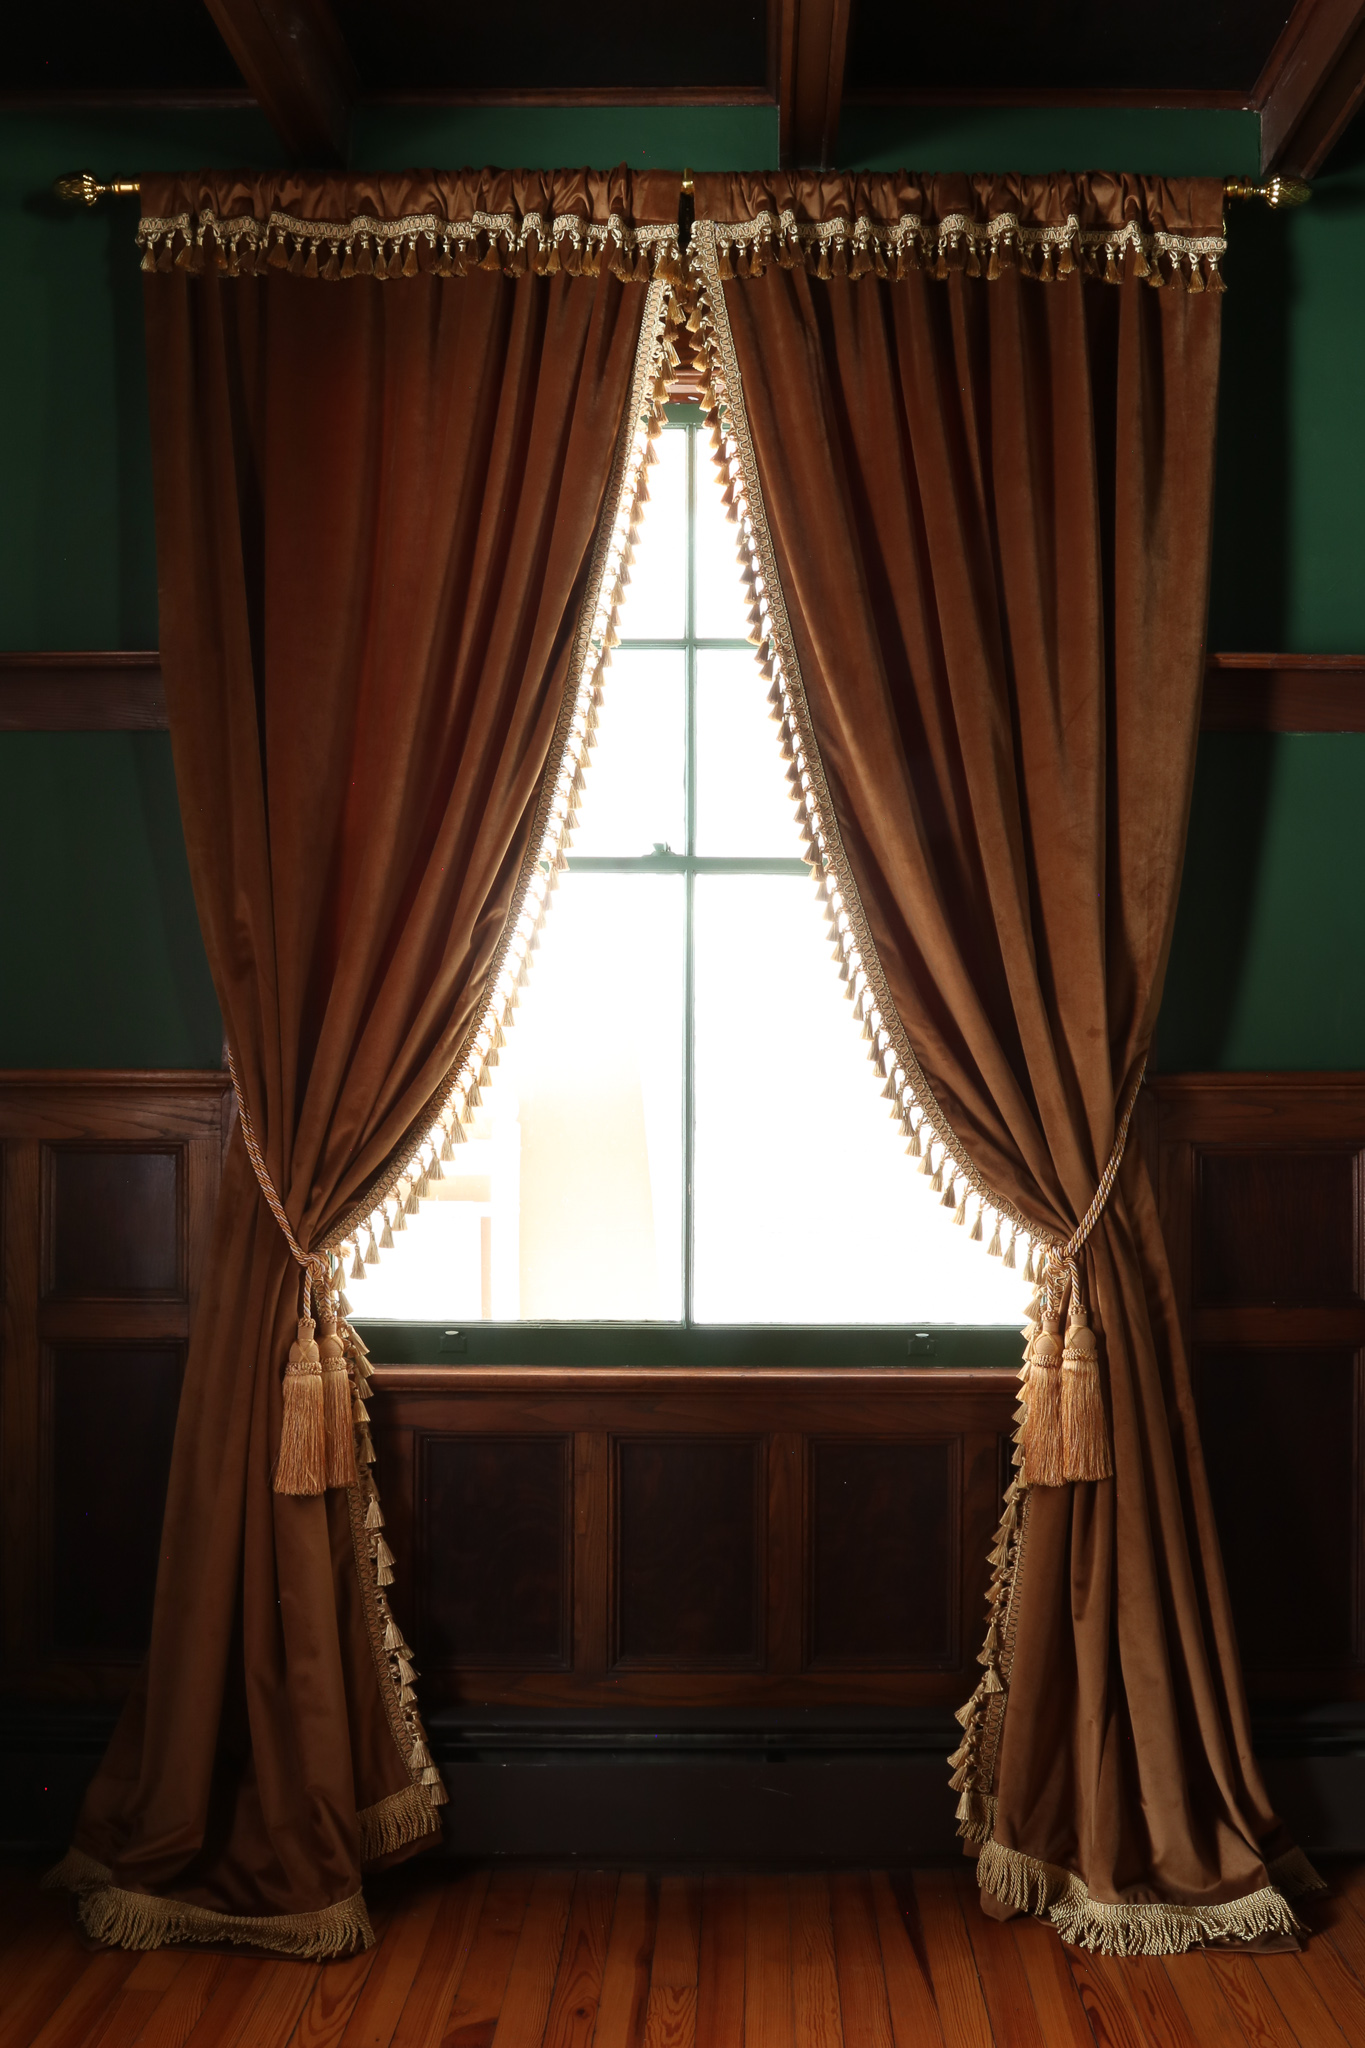
The most common places to put your trim are along the top and bottom border, and vertically along the inside of your drapes. If you’re looking to save some money you could skip trimming at the bottom or top. As I mentioned previously, if you have the basics of sewing this is pretty easy, I just followed the seams of the already made drapery panels. See a few of my tips on drapery trim and construction below.
SHAWN’S TIPS:
- When buying your trim, make sure you allow enough yardage for folding over your seams and wastage.
- Make sure your top thread matches the color of your trim, and your bobbin thread matches the back color of your drapes.
- Make sure to separate your left and right panels to ensure you sew the vertical trim on the inside panel, not the outside.
- Have a hot glue gun handy. When cutting your trim, it’s a good idea to singe the cut edge to prevent it from unraveling. Use a few beads of glue then fold under.
- Pinning down your trim is always a good idea for the first 1-2’ or until you get the hang of sewing the trim on.
- Depending on how thick your drapery panels are, and how thick your trim is, it may be difficult sewing the edges without getting your needle stuck. I used fabric glue on my edges to make sure the ends are completely secure.

You did a beautiful job! Shows what some good research can do…..stunning and perfect fit!
I loved reading about your whole process, you go at things like I do, with lots of research. Thank you for taking the time to write about it. The drapes look awesome.