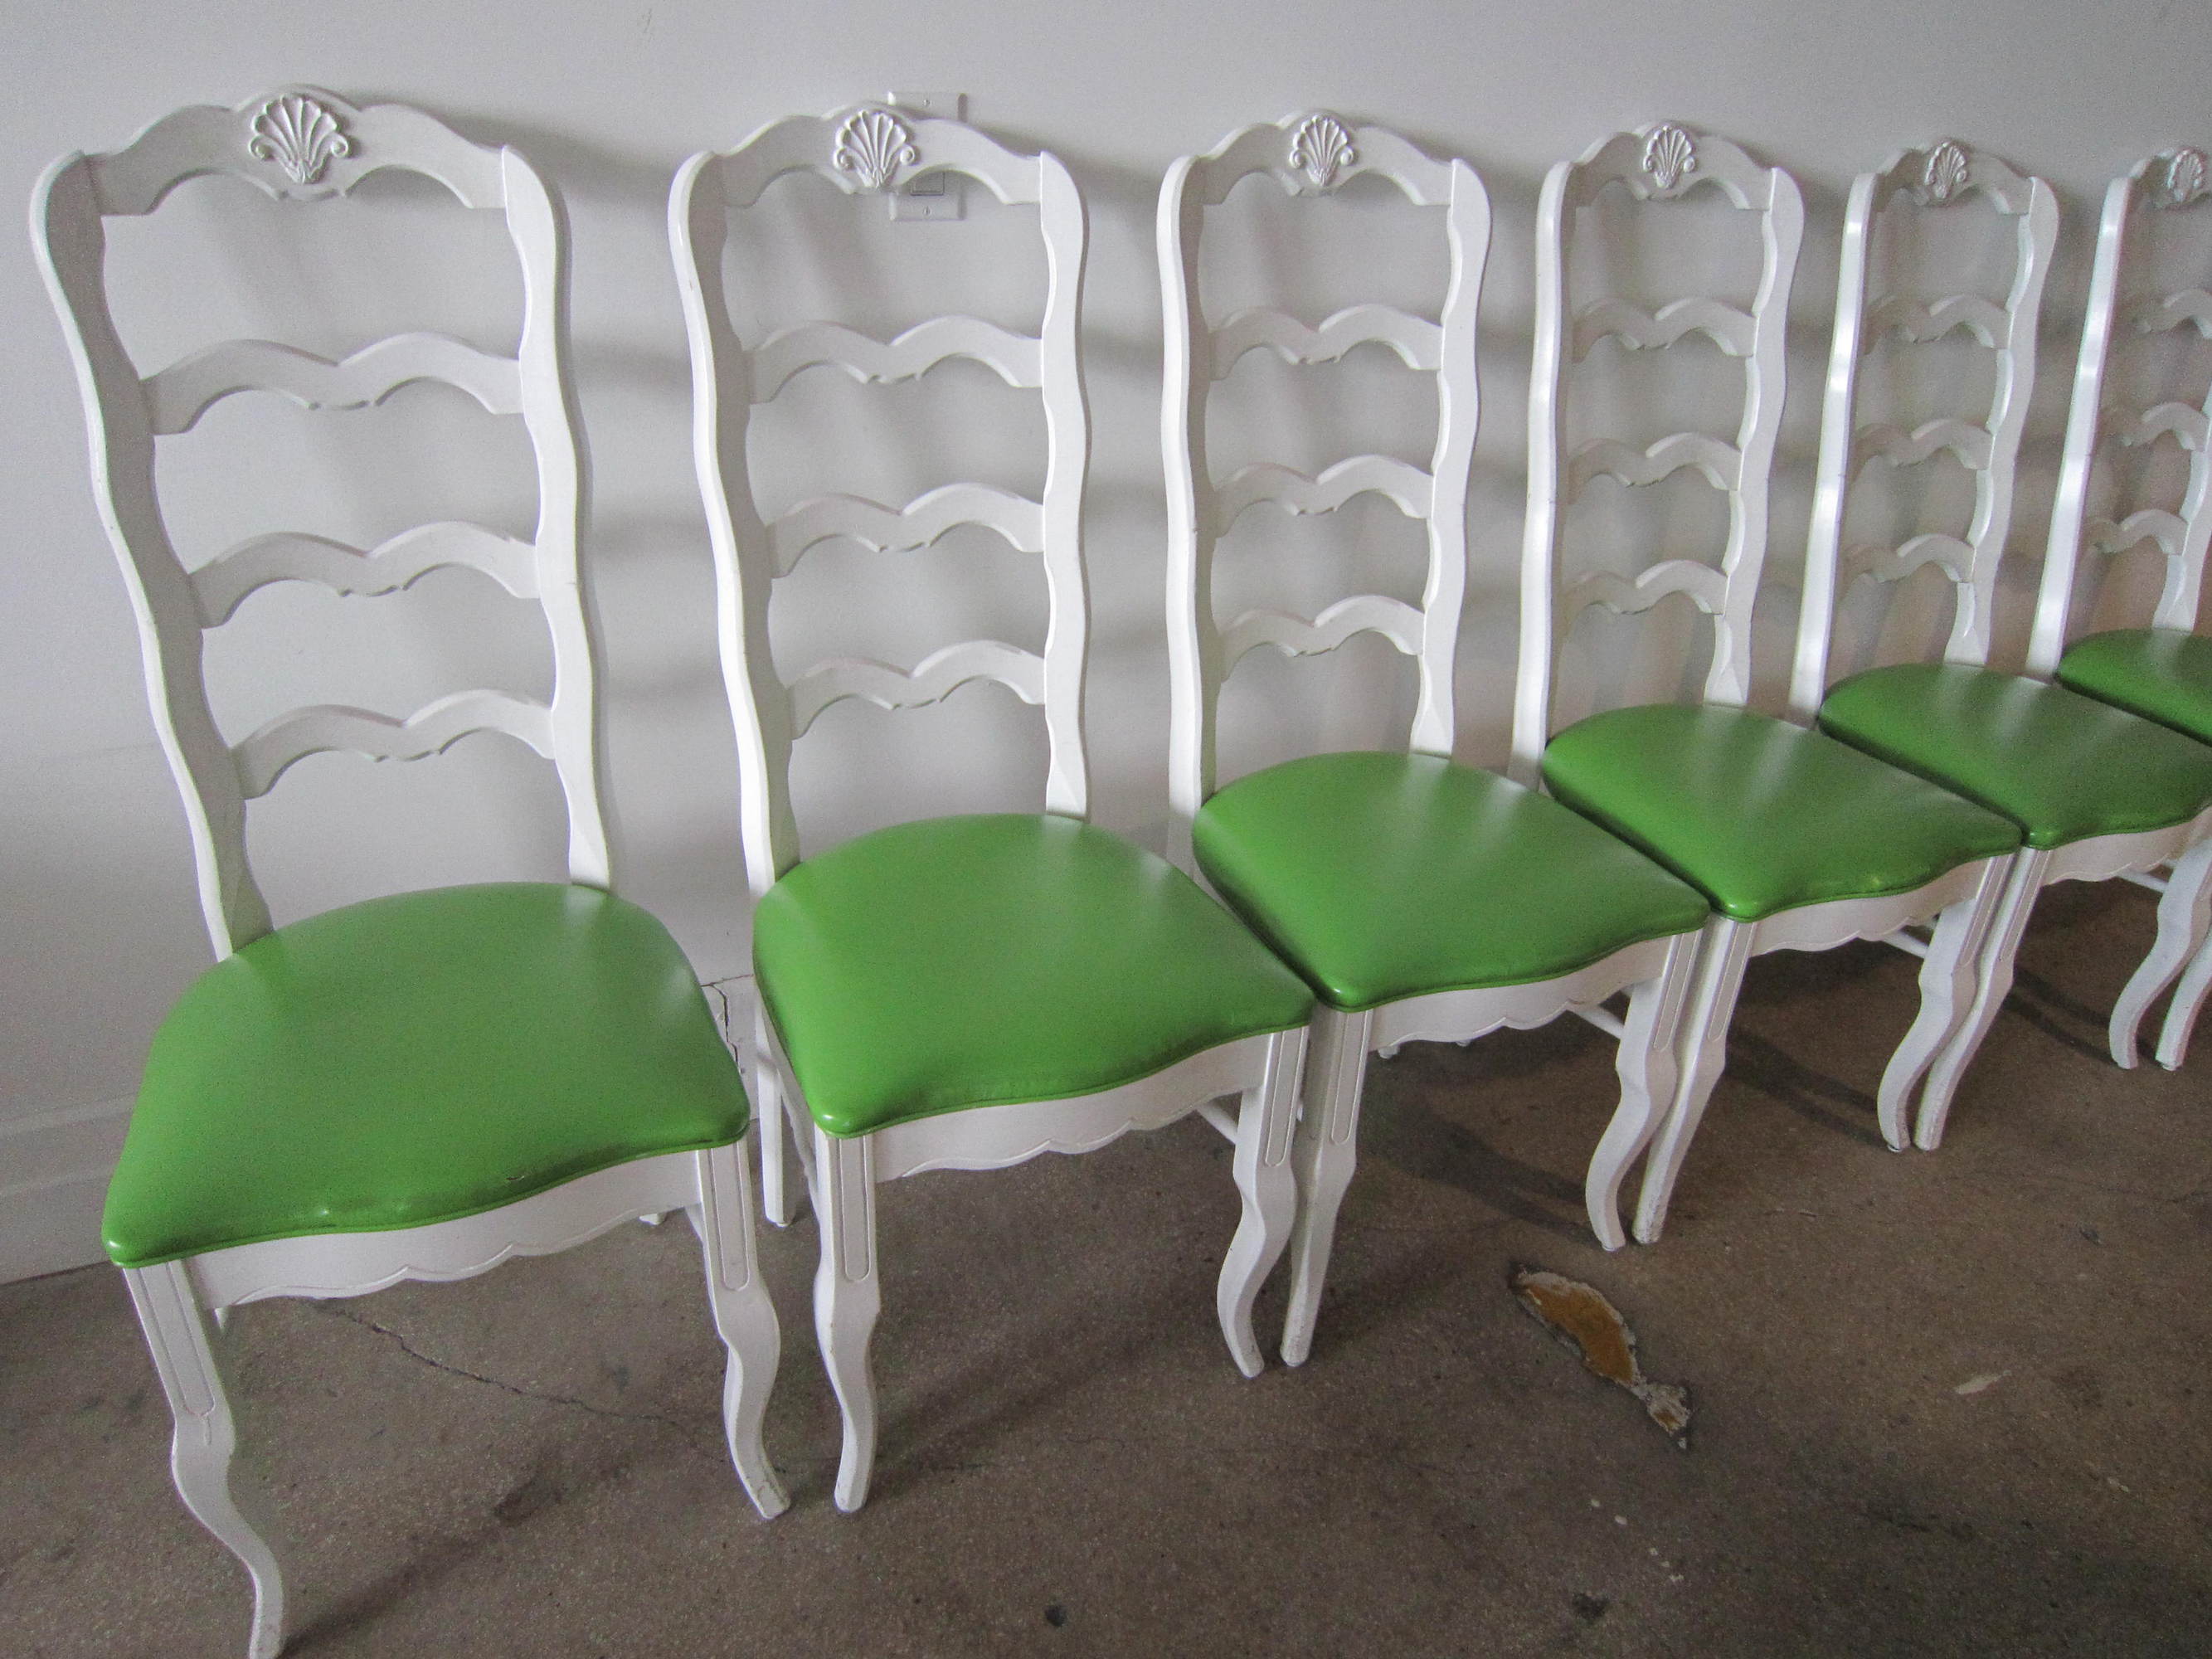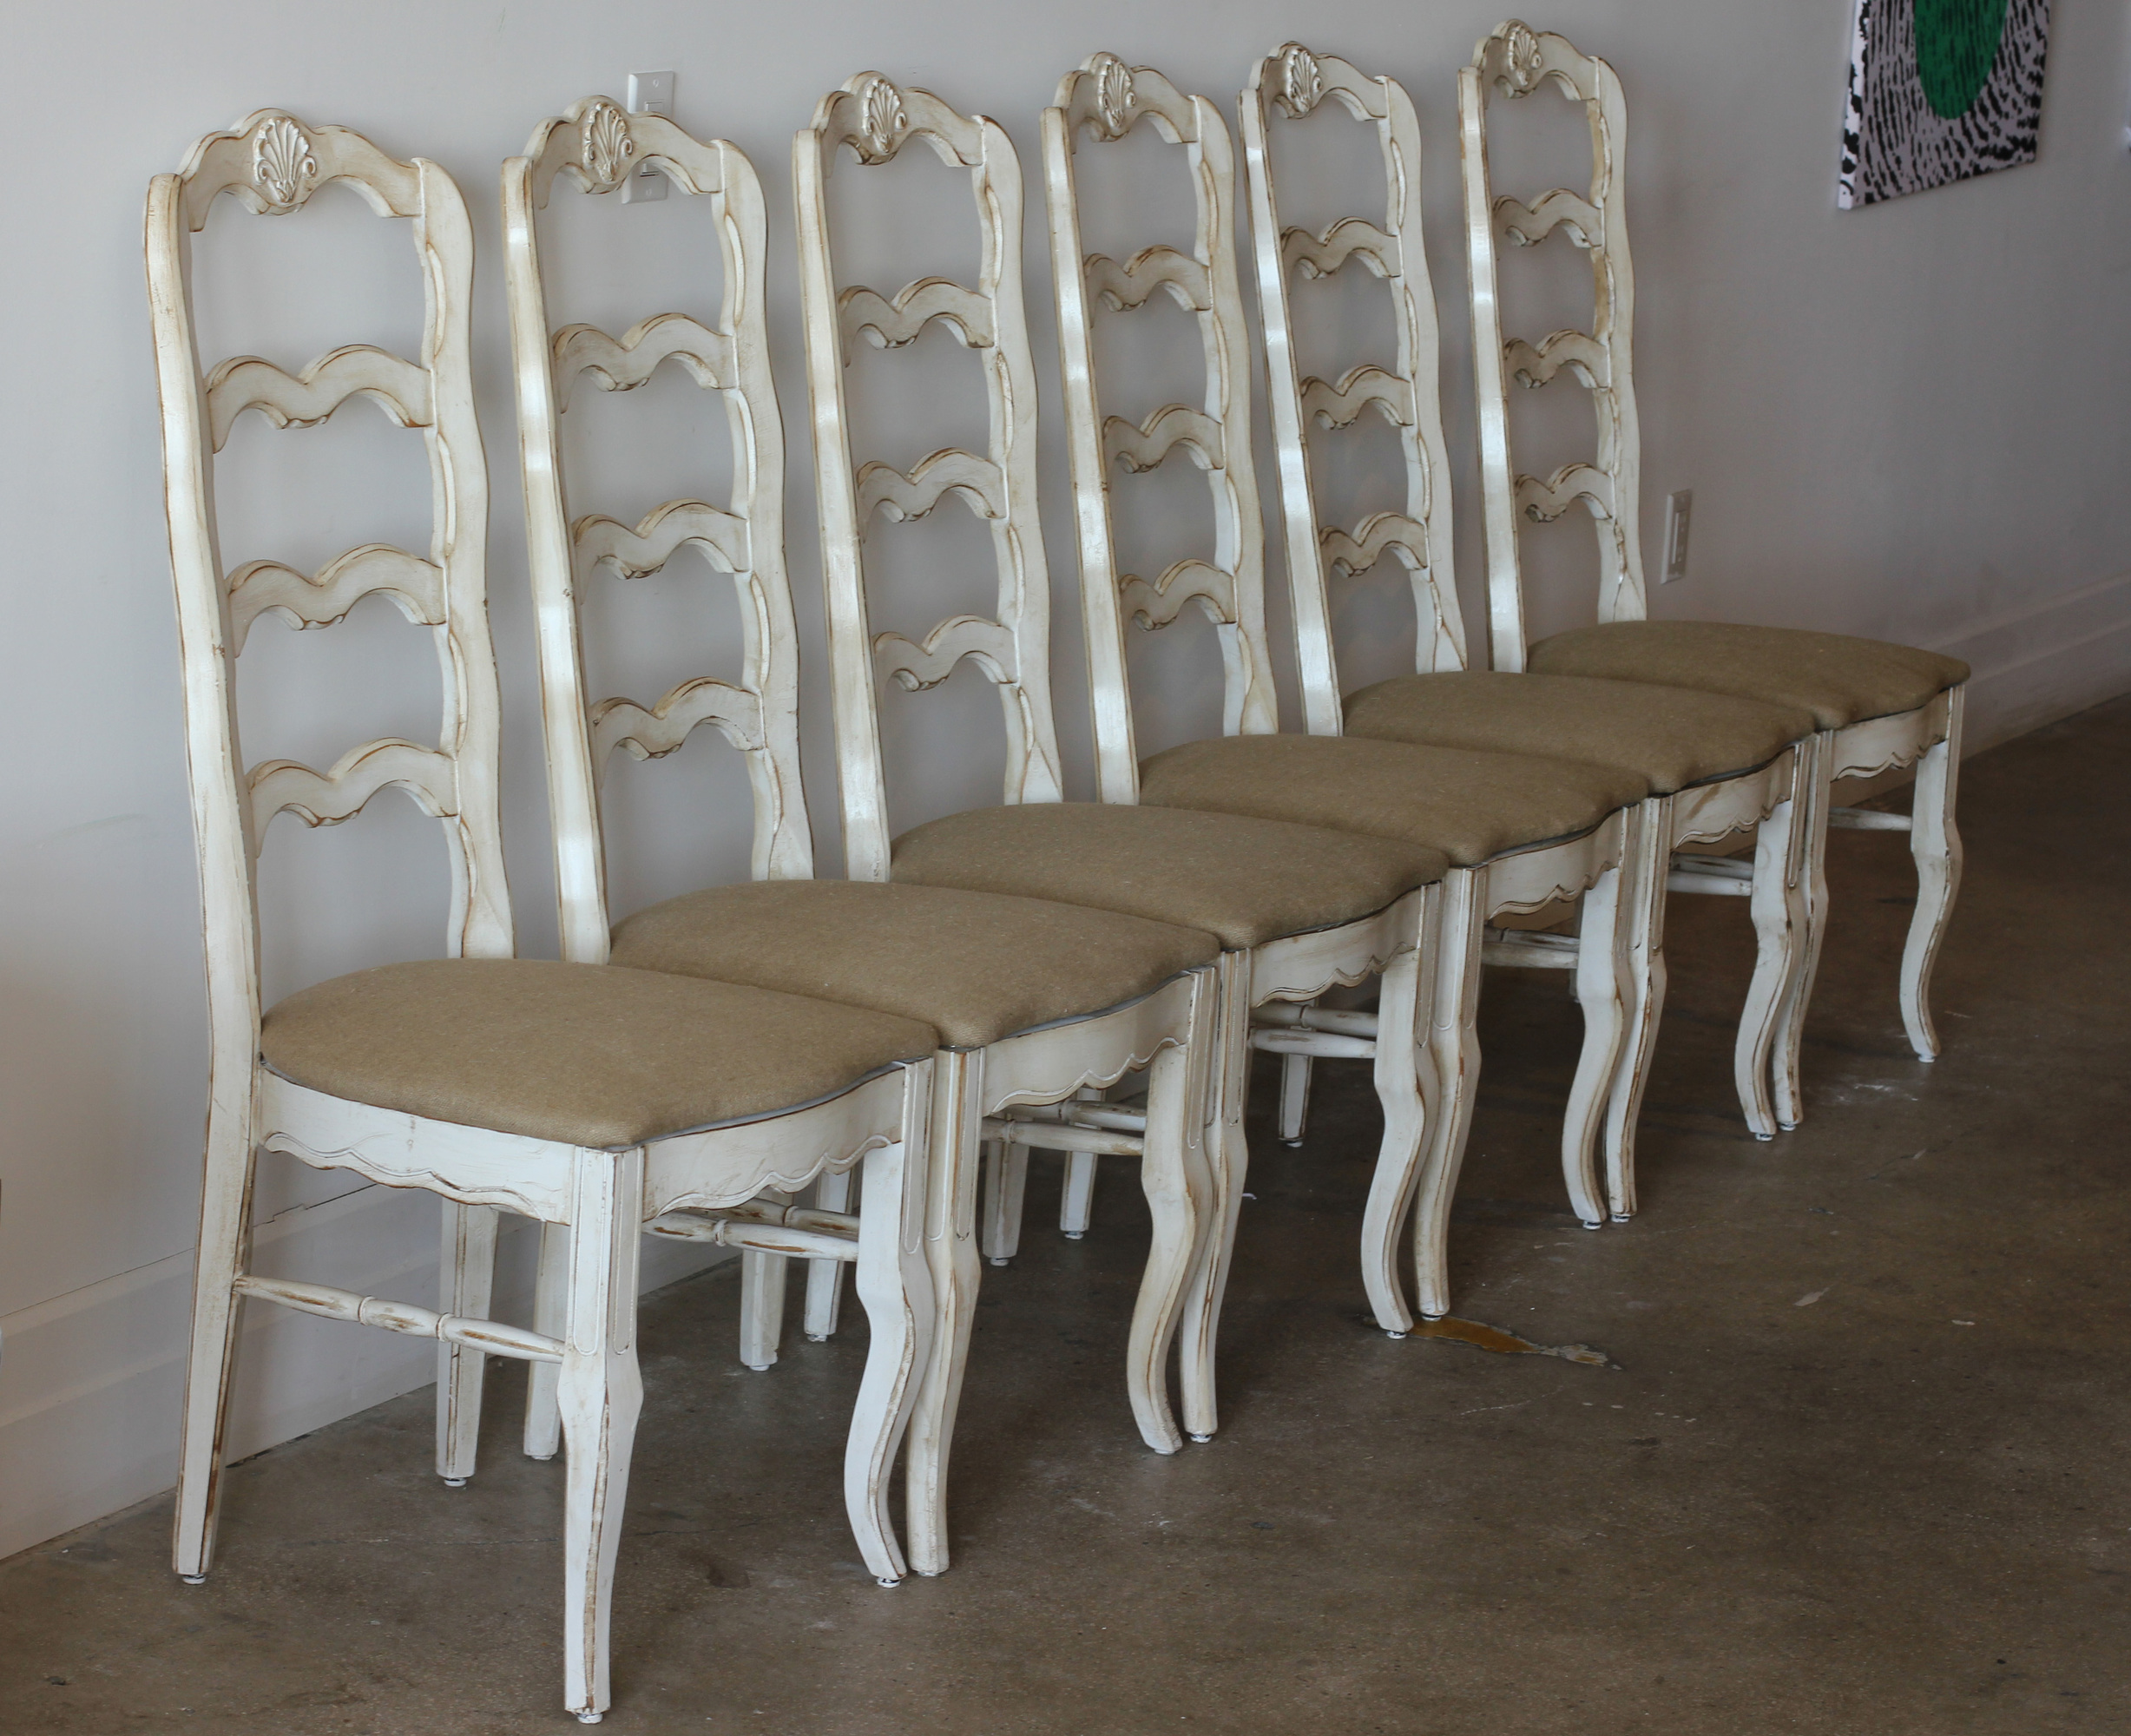
This is officially our first DIY furniture project, we’ve done similar restorations in our loft but this is a whole new style for us. I scored these six dining chairs at my favorite second-hand store Furnishing Solutions where all proceeds go directly to Homeless Solutions, Inc. (HSI). The stark white with lime green cushions are a bit dated (in my opinion) but for a gagging price of $150 for all six I couldn’t resist! Read below for my easy DIY transformation.
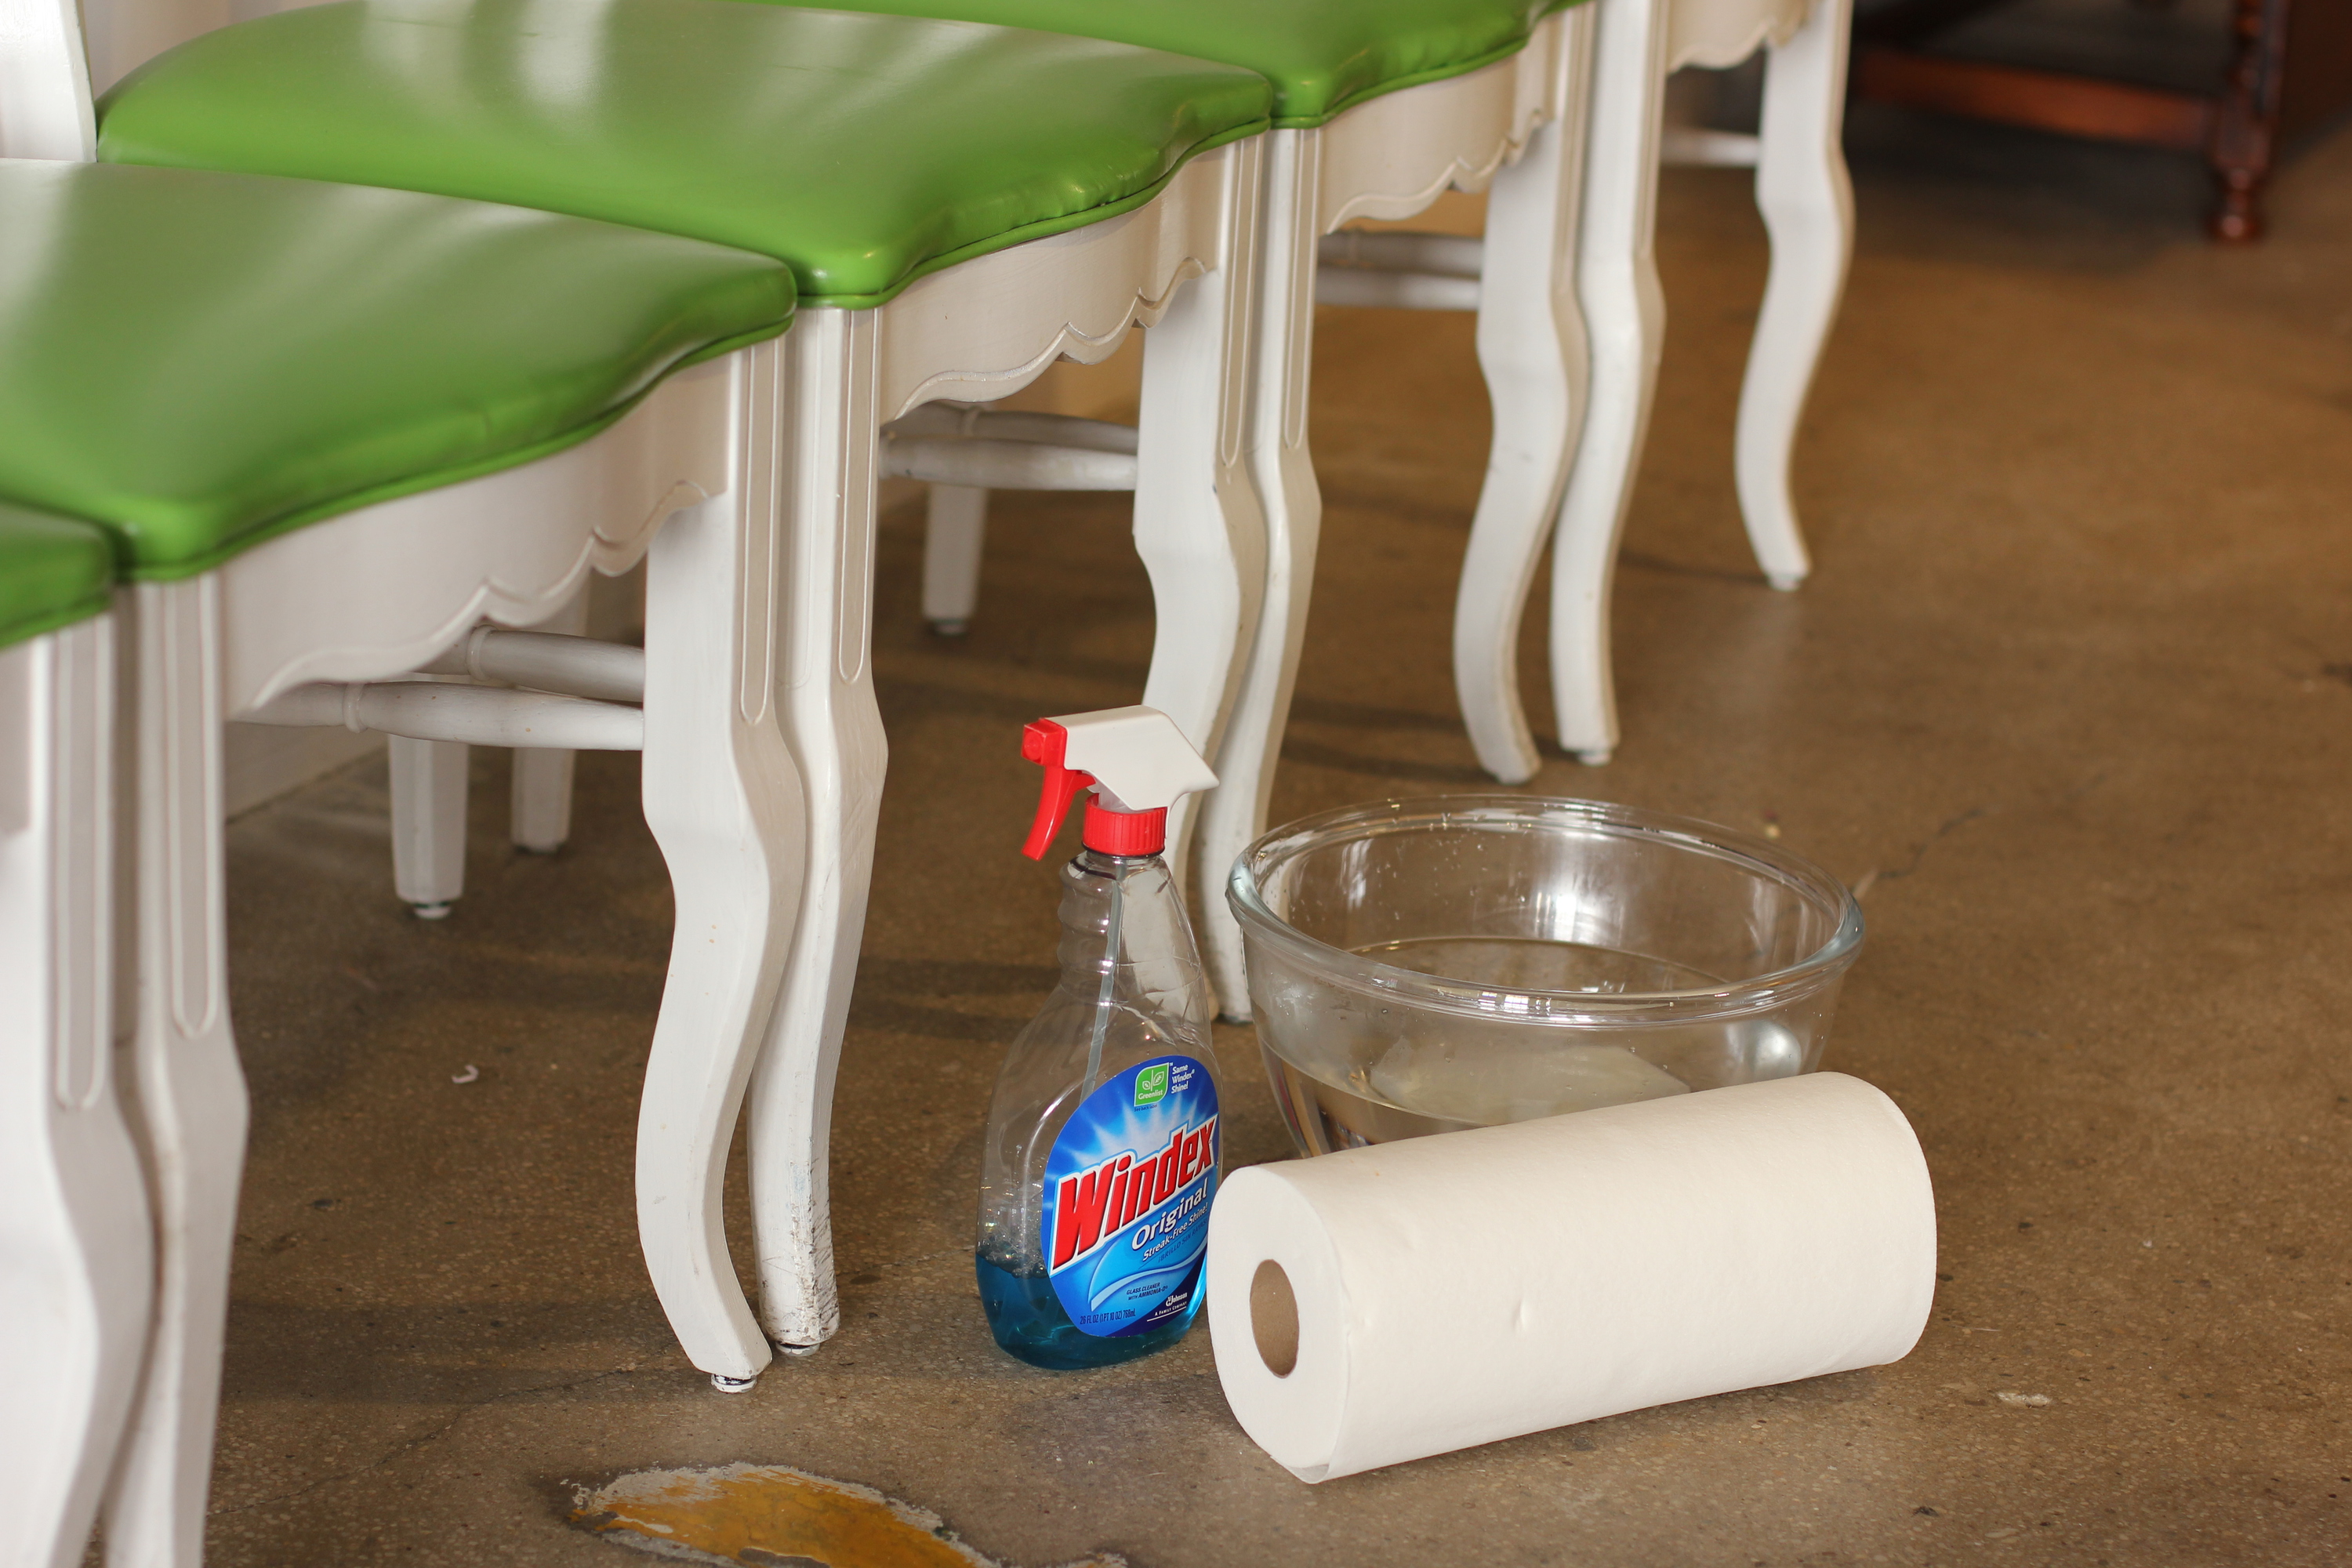
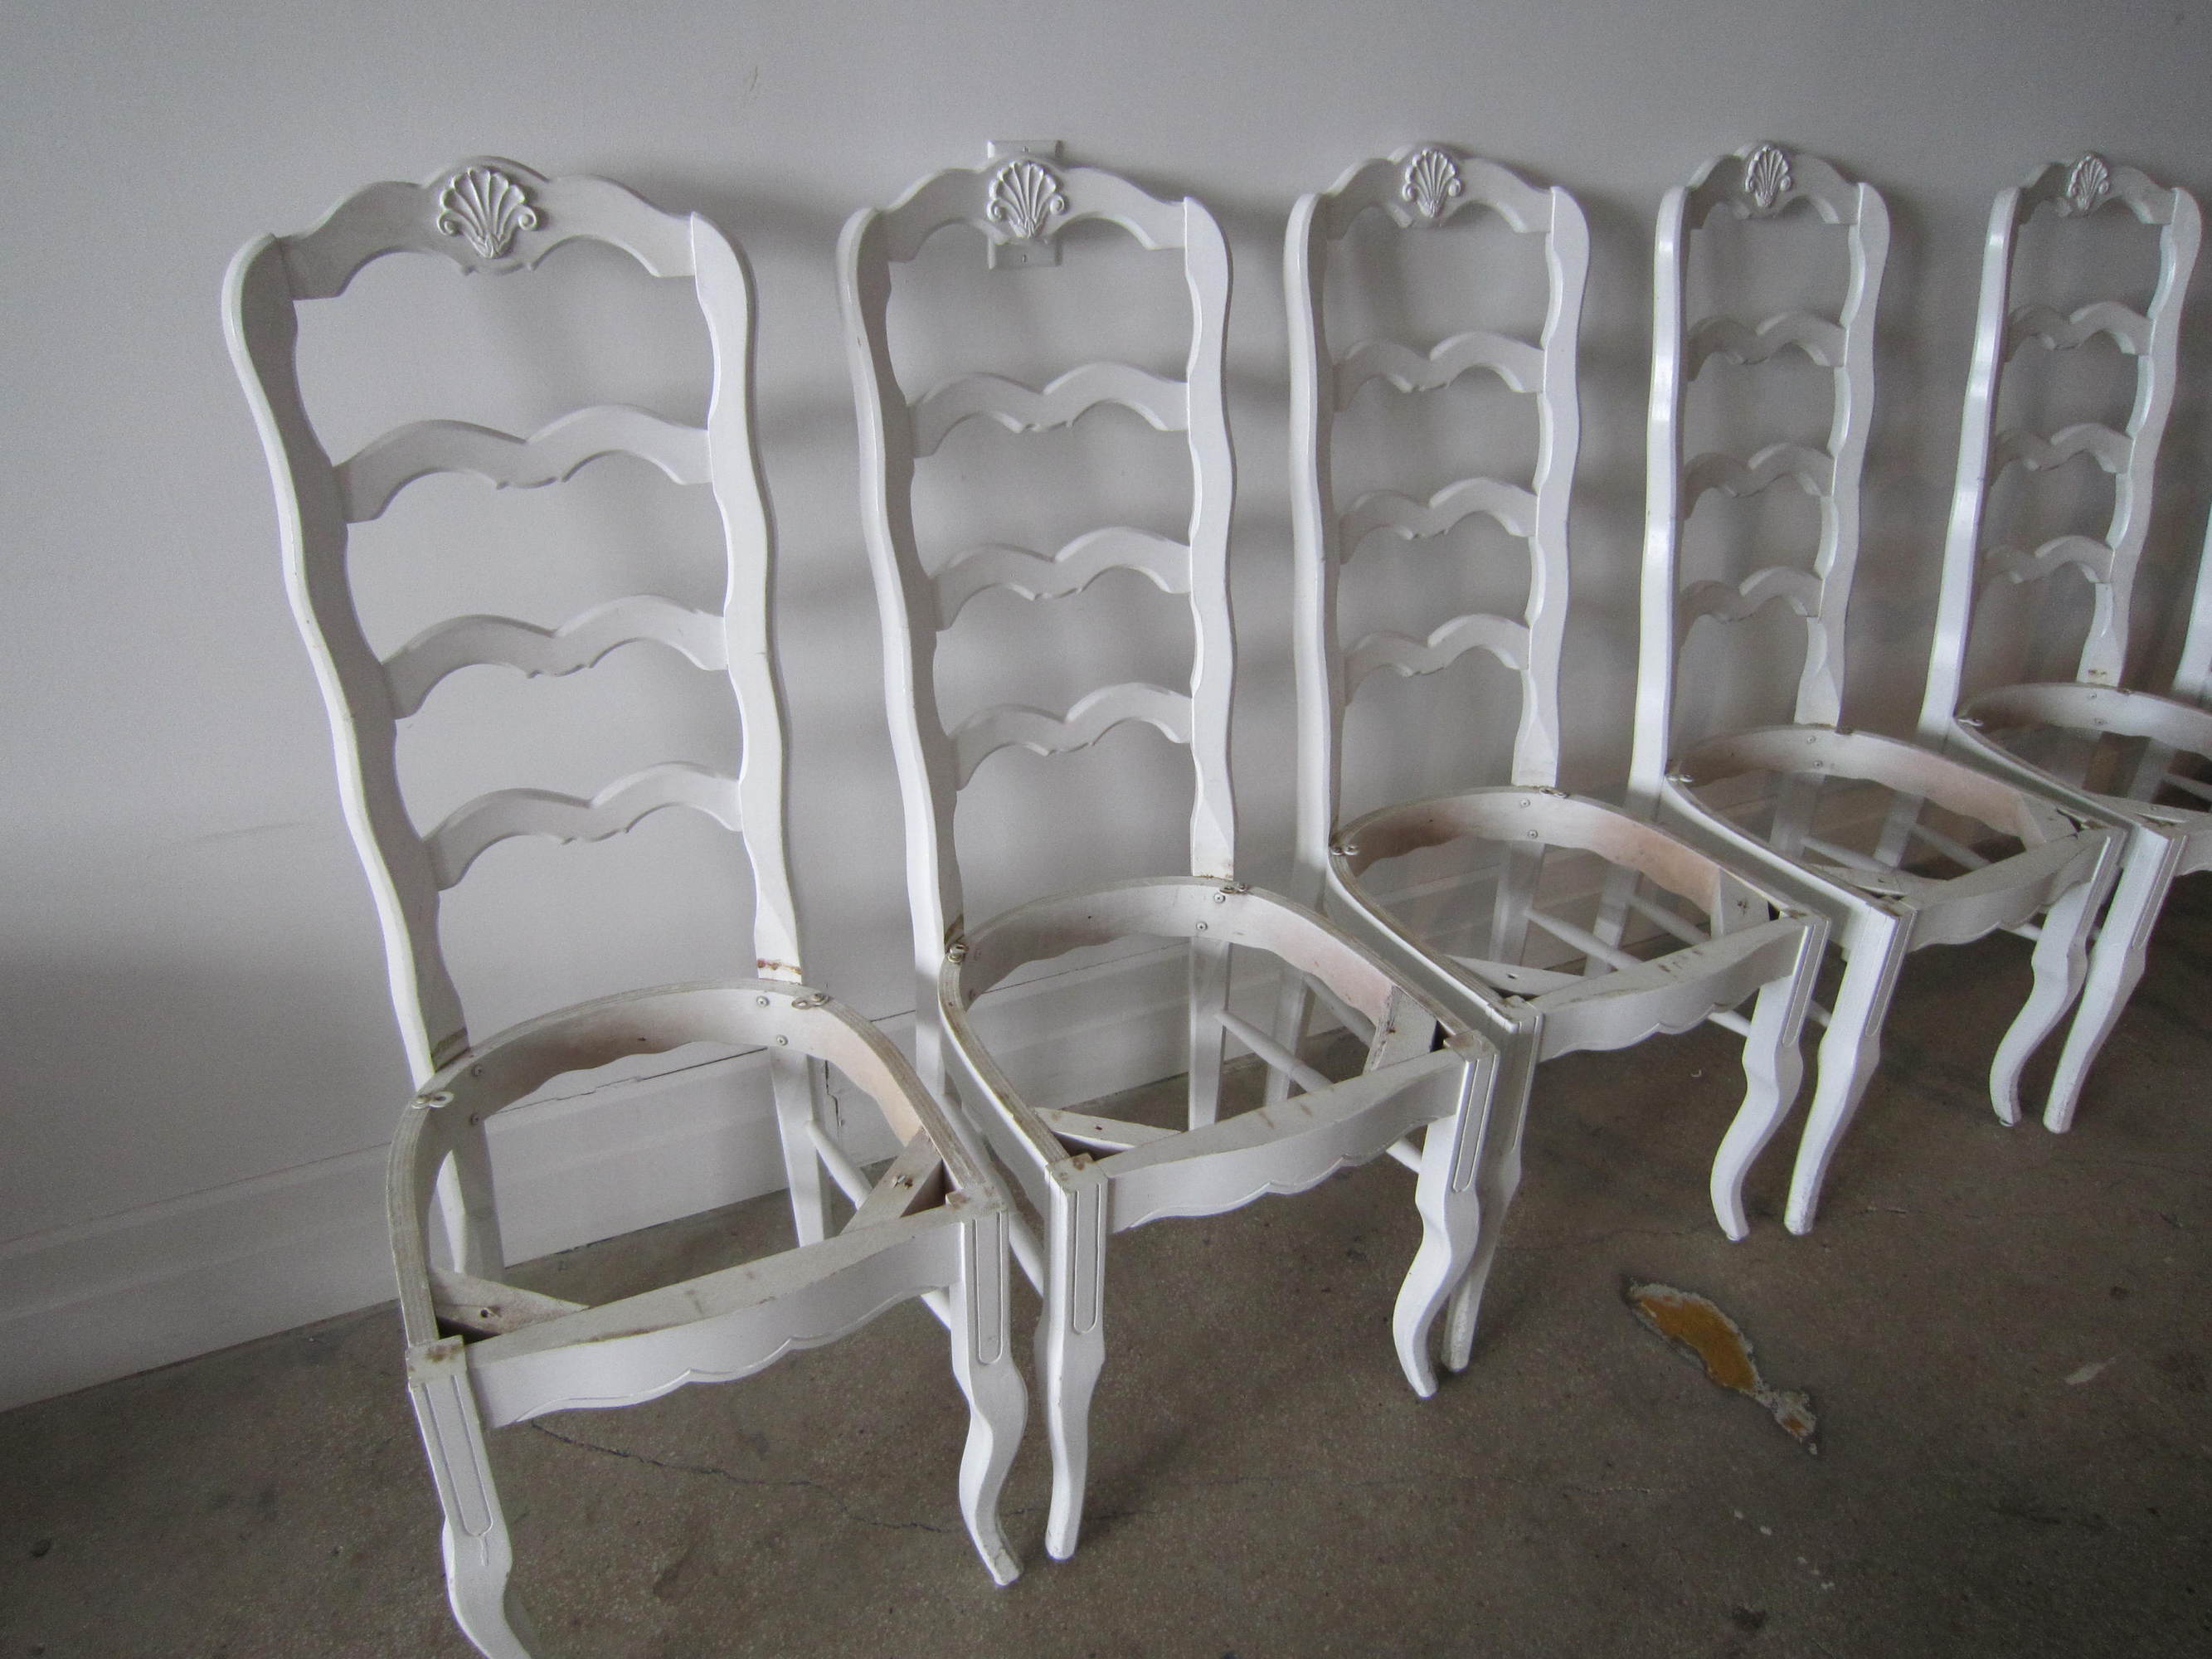
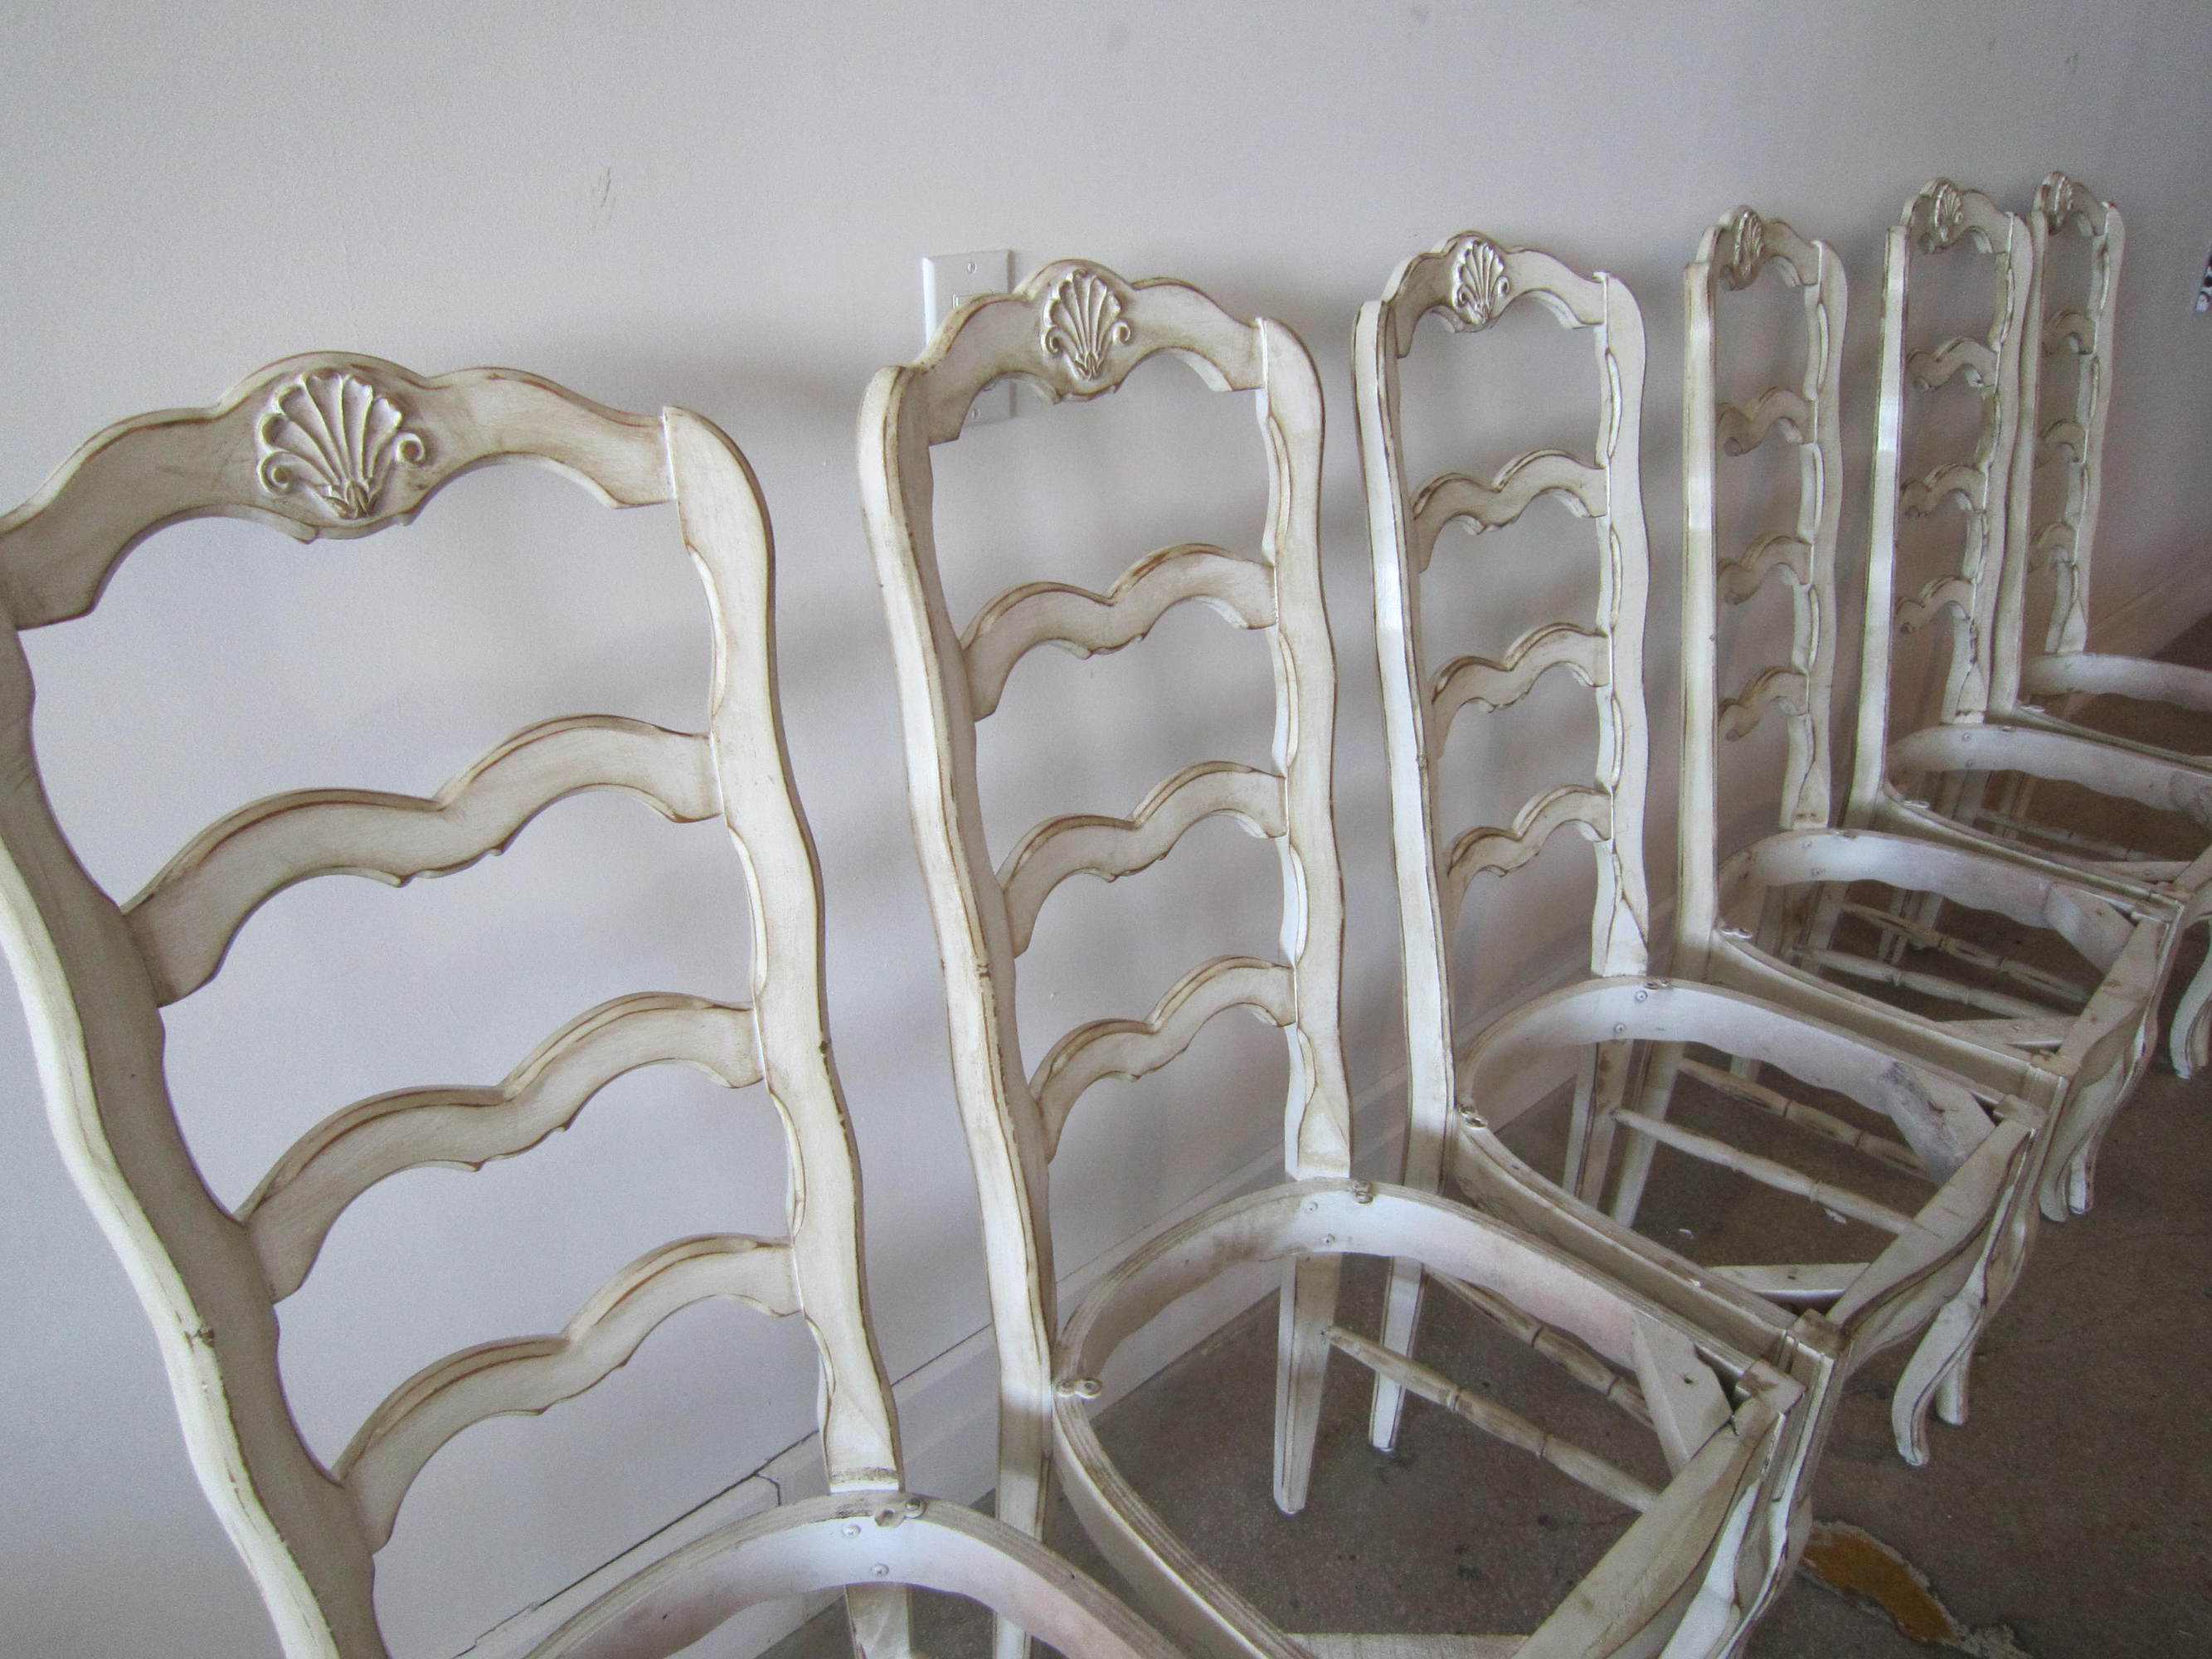
1. Luckily enough these beauts were already painted white, saving me a step in the distressing process. Remove cushions from chair frames and clean surface thoroughly.
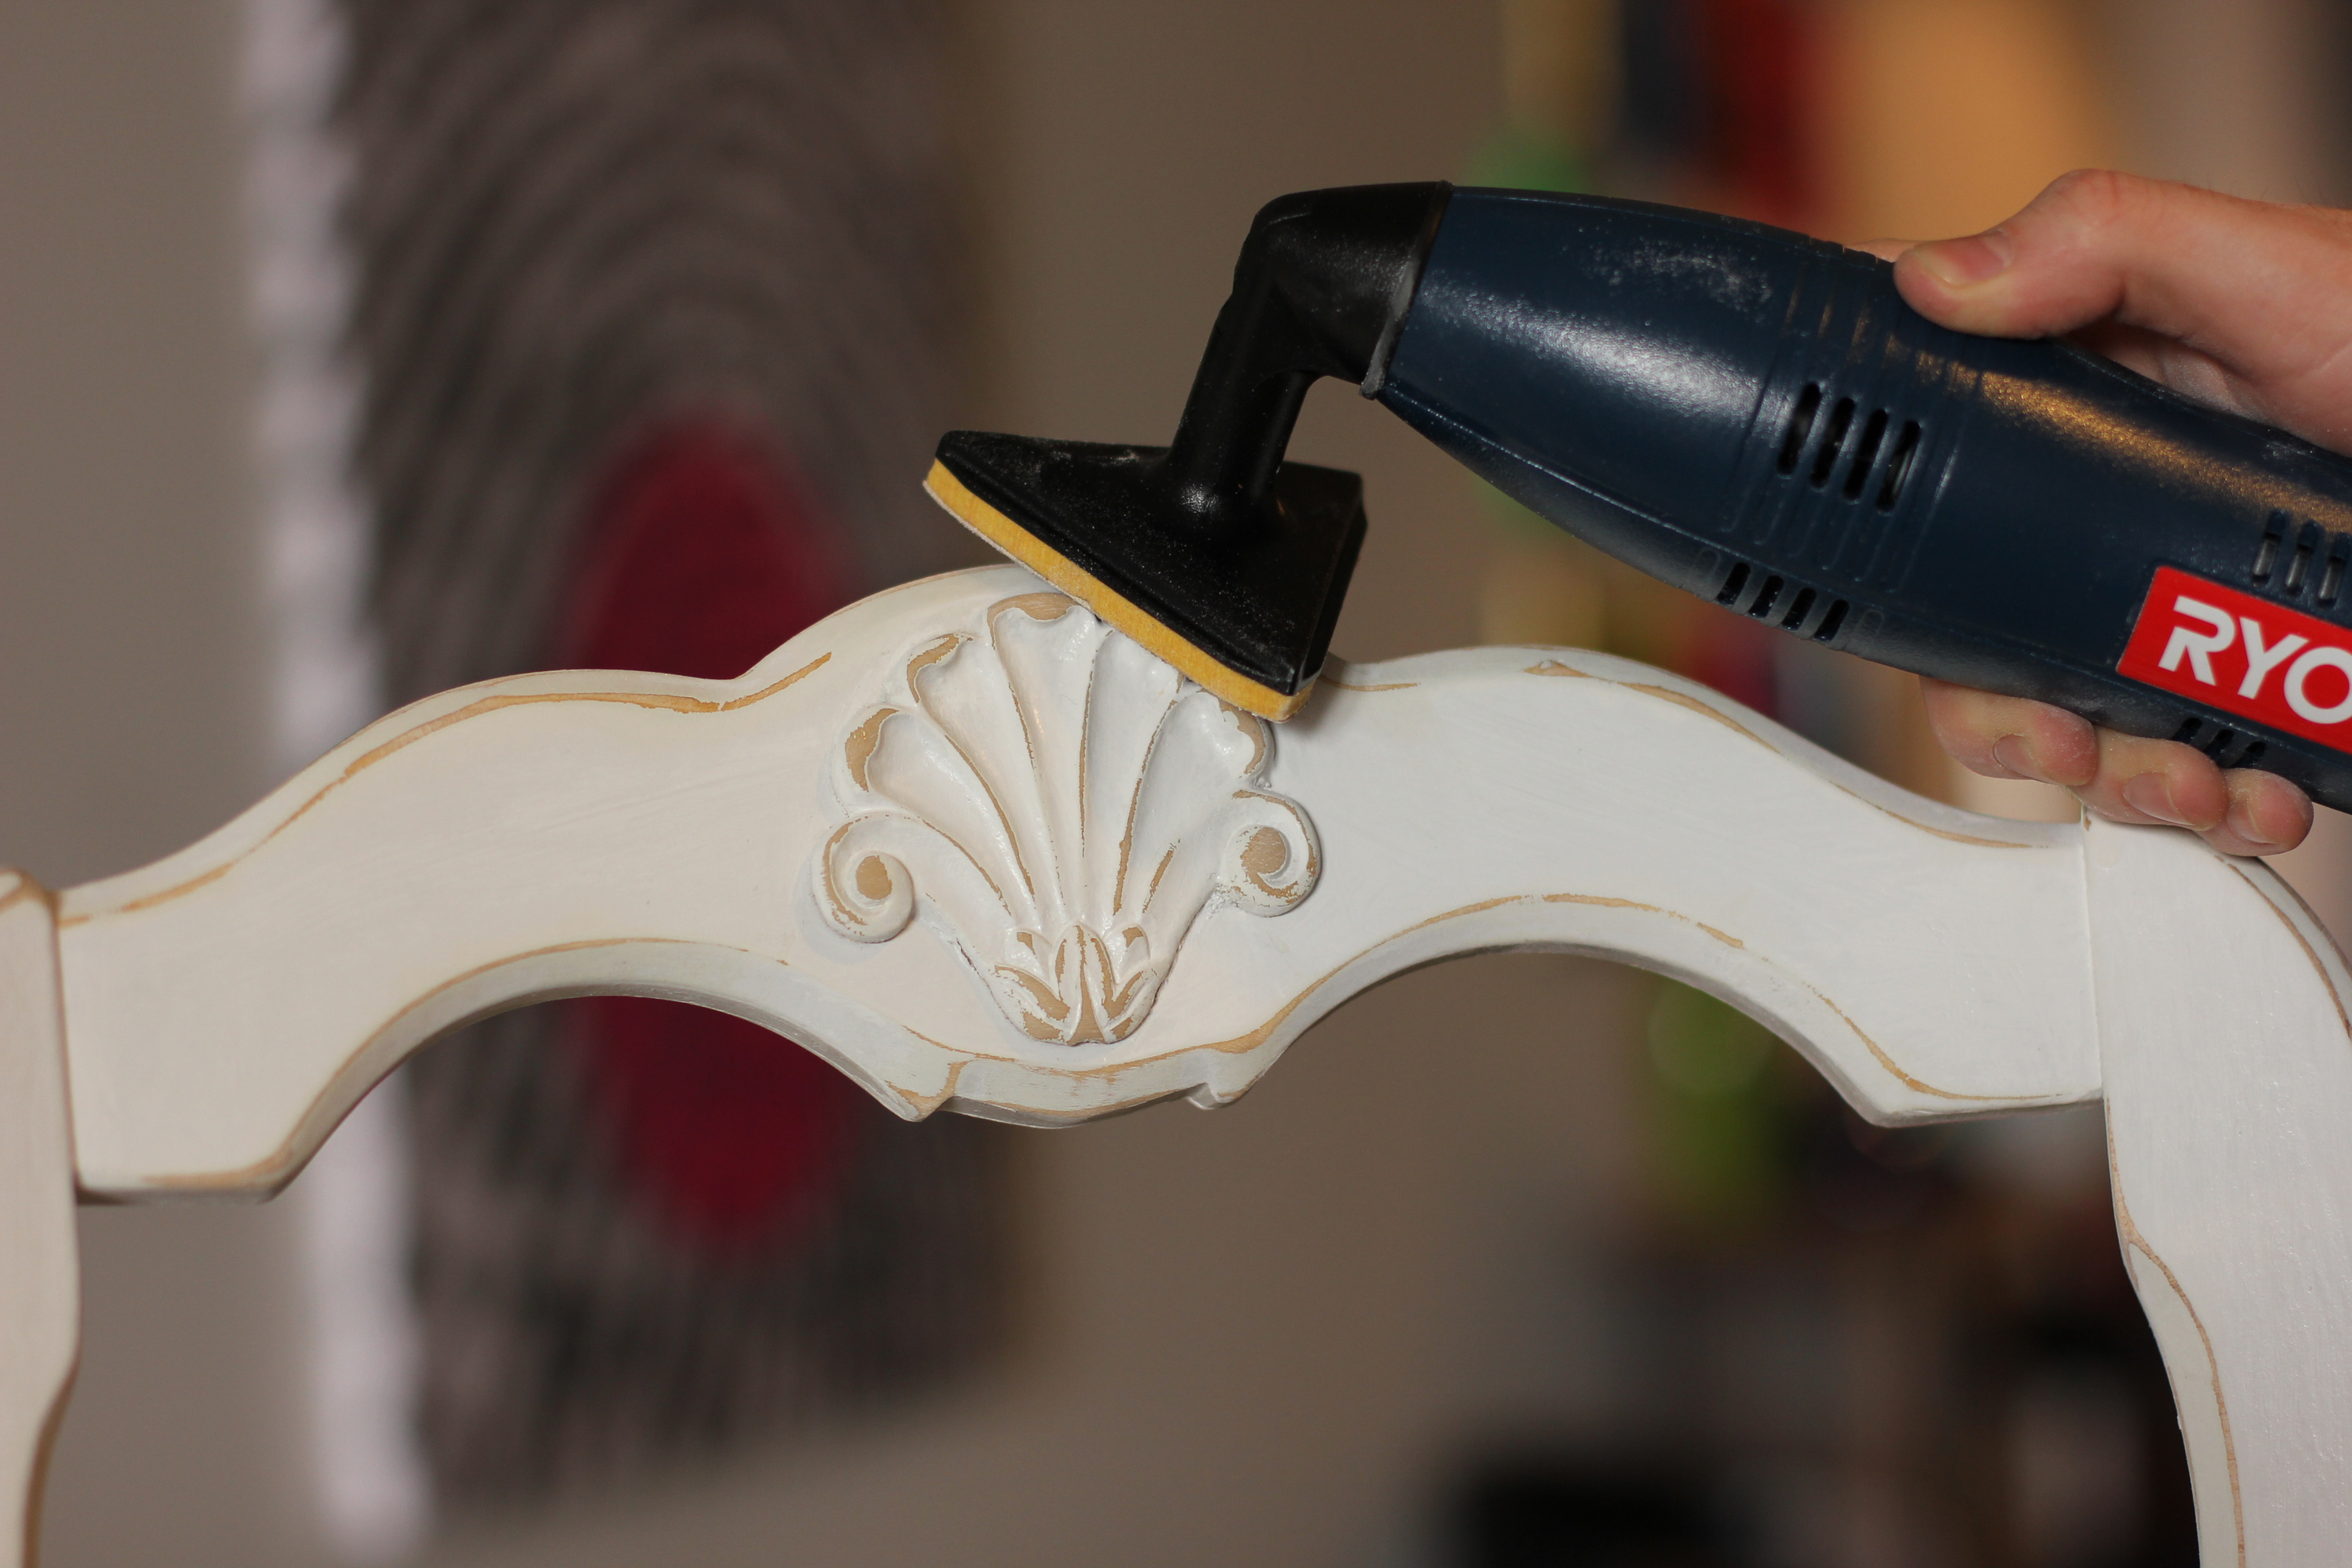
2. The fun part begins, time to distress! I usually use a disposable sanding sponge but with the multiple layers of white paint I had to opt for an alternative solution. The Ryobi Detail Sander is a great tool for DIY projects, it’s oscillating technology and small compact size was perfect ($29.97 from Home Depot).
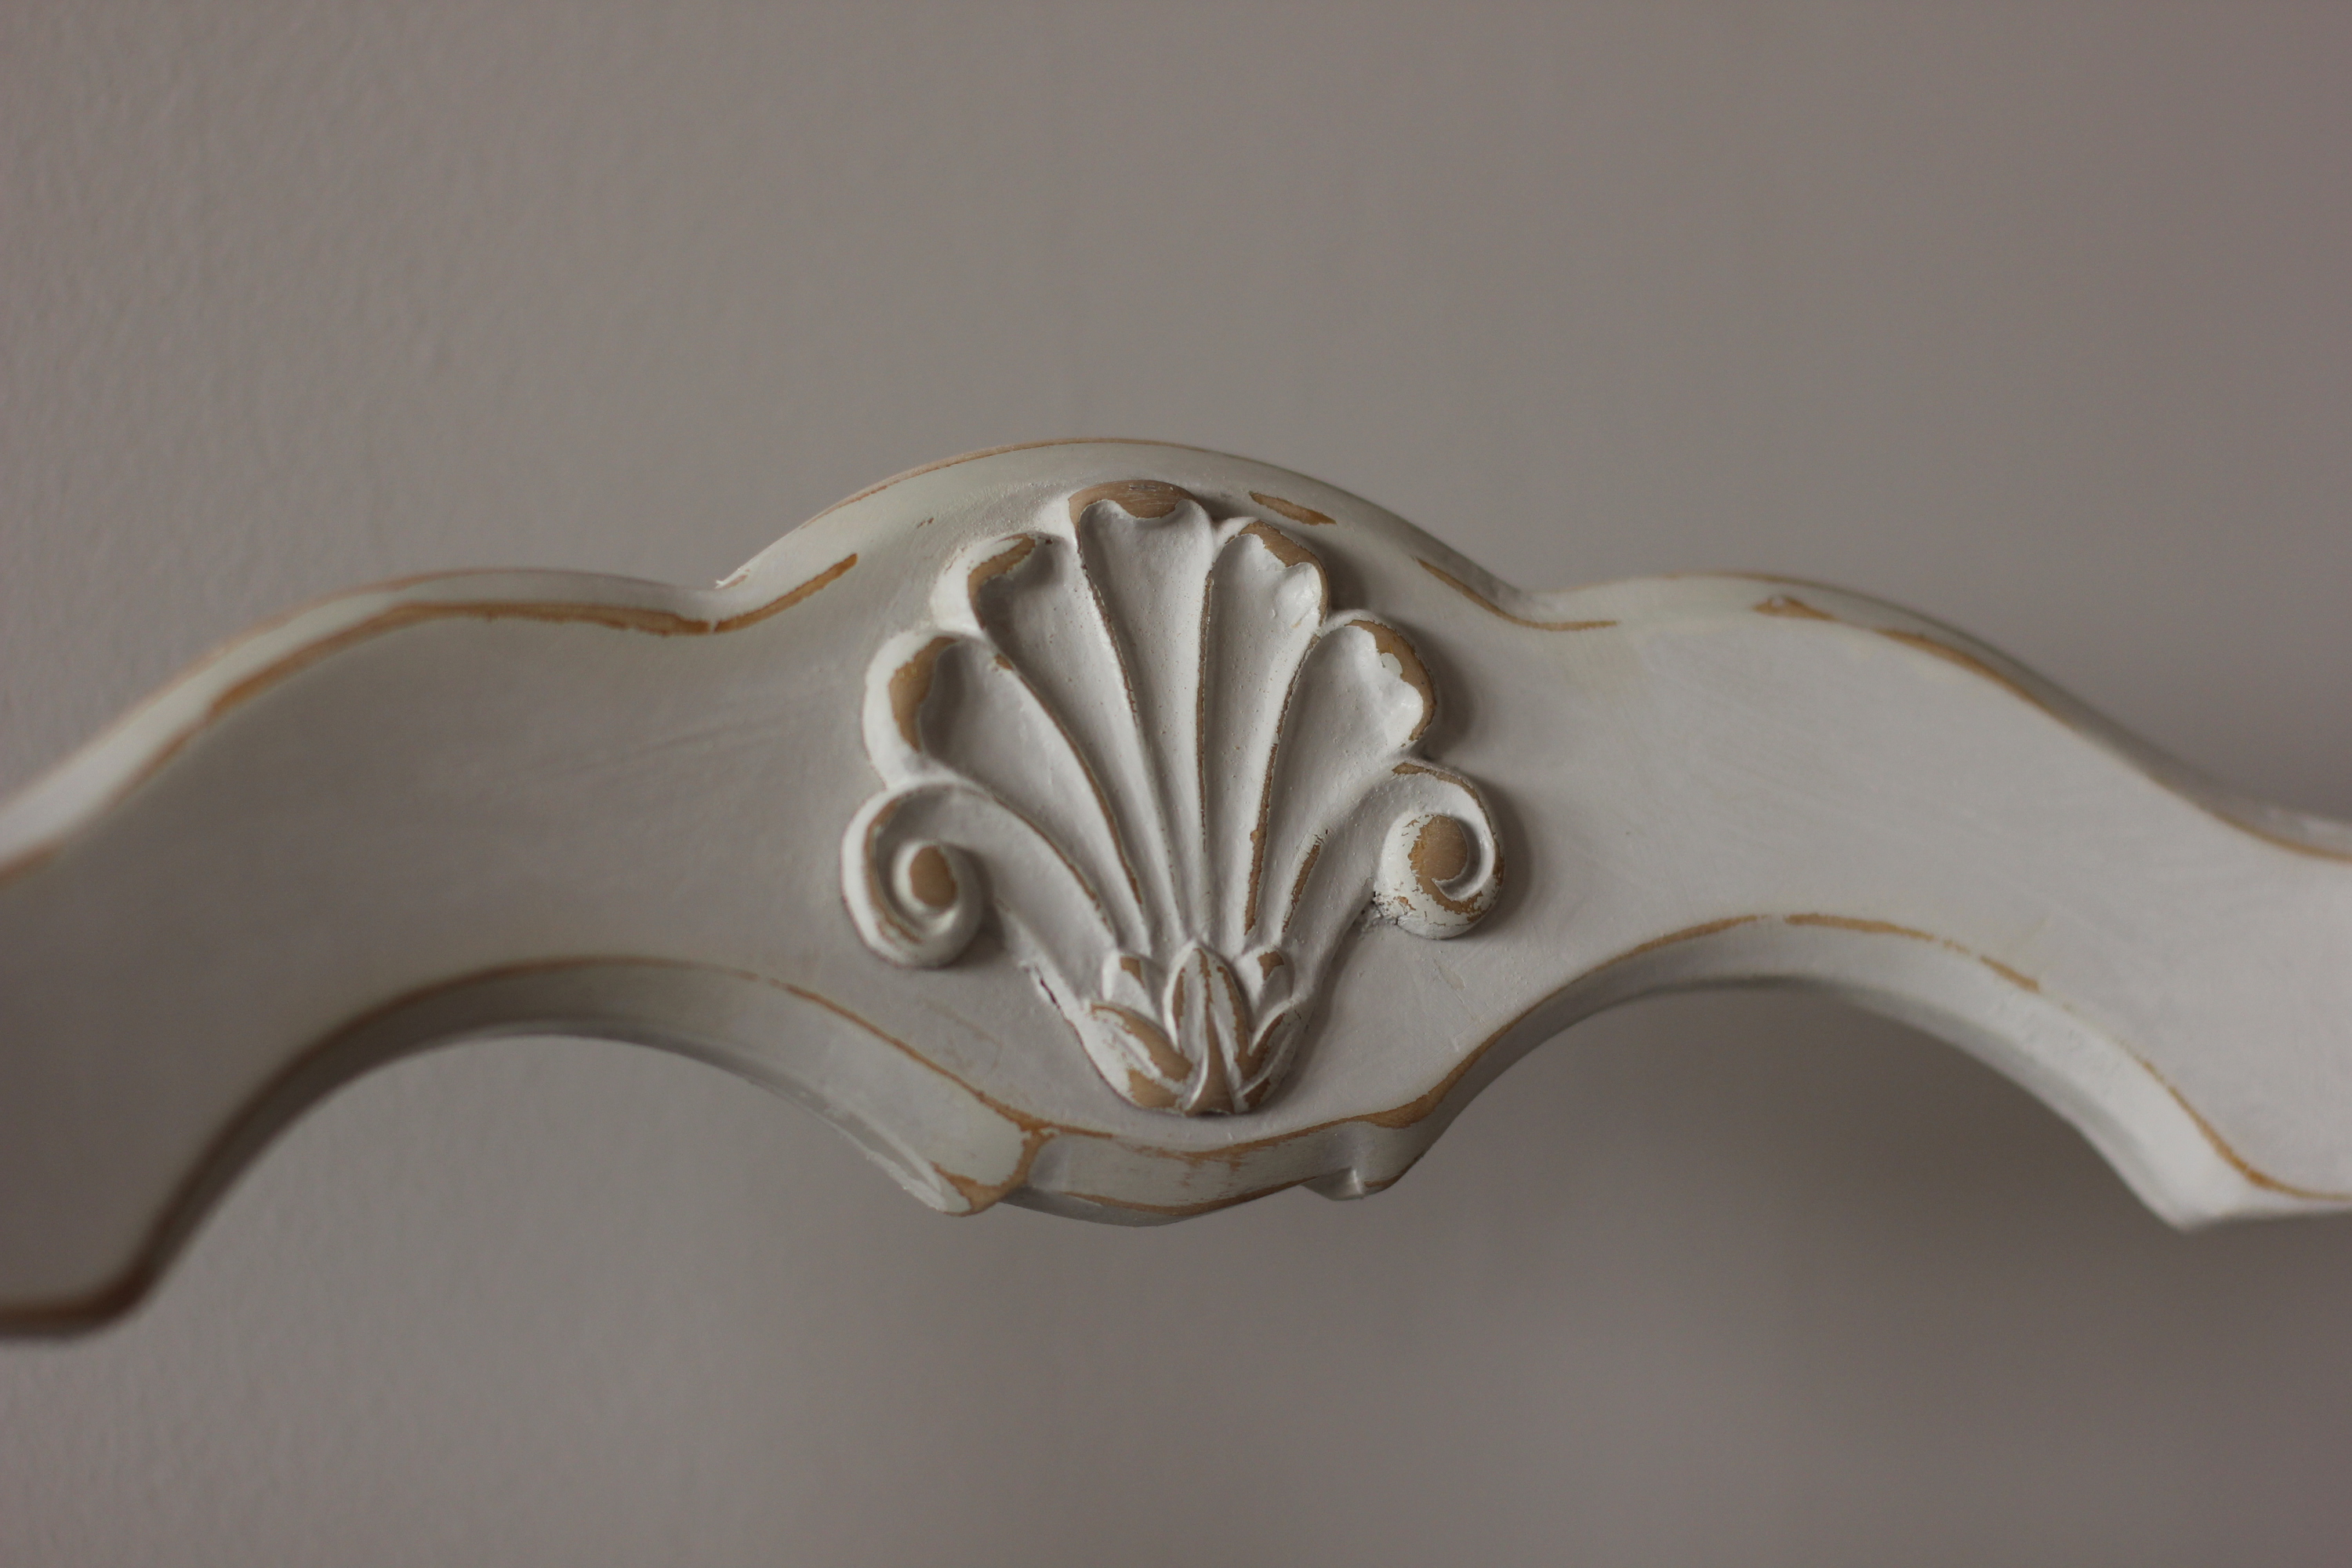
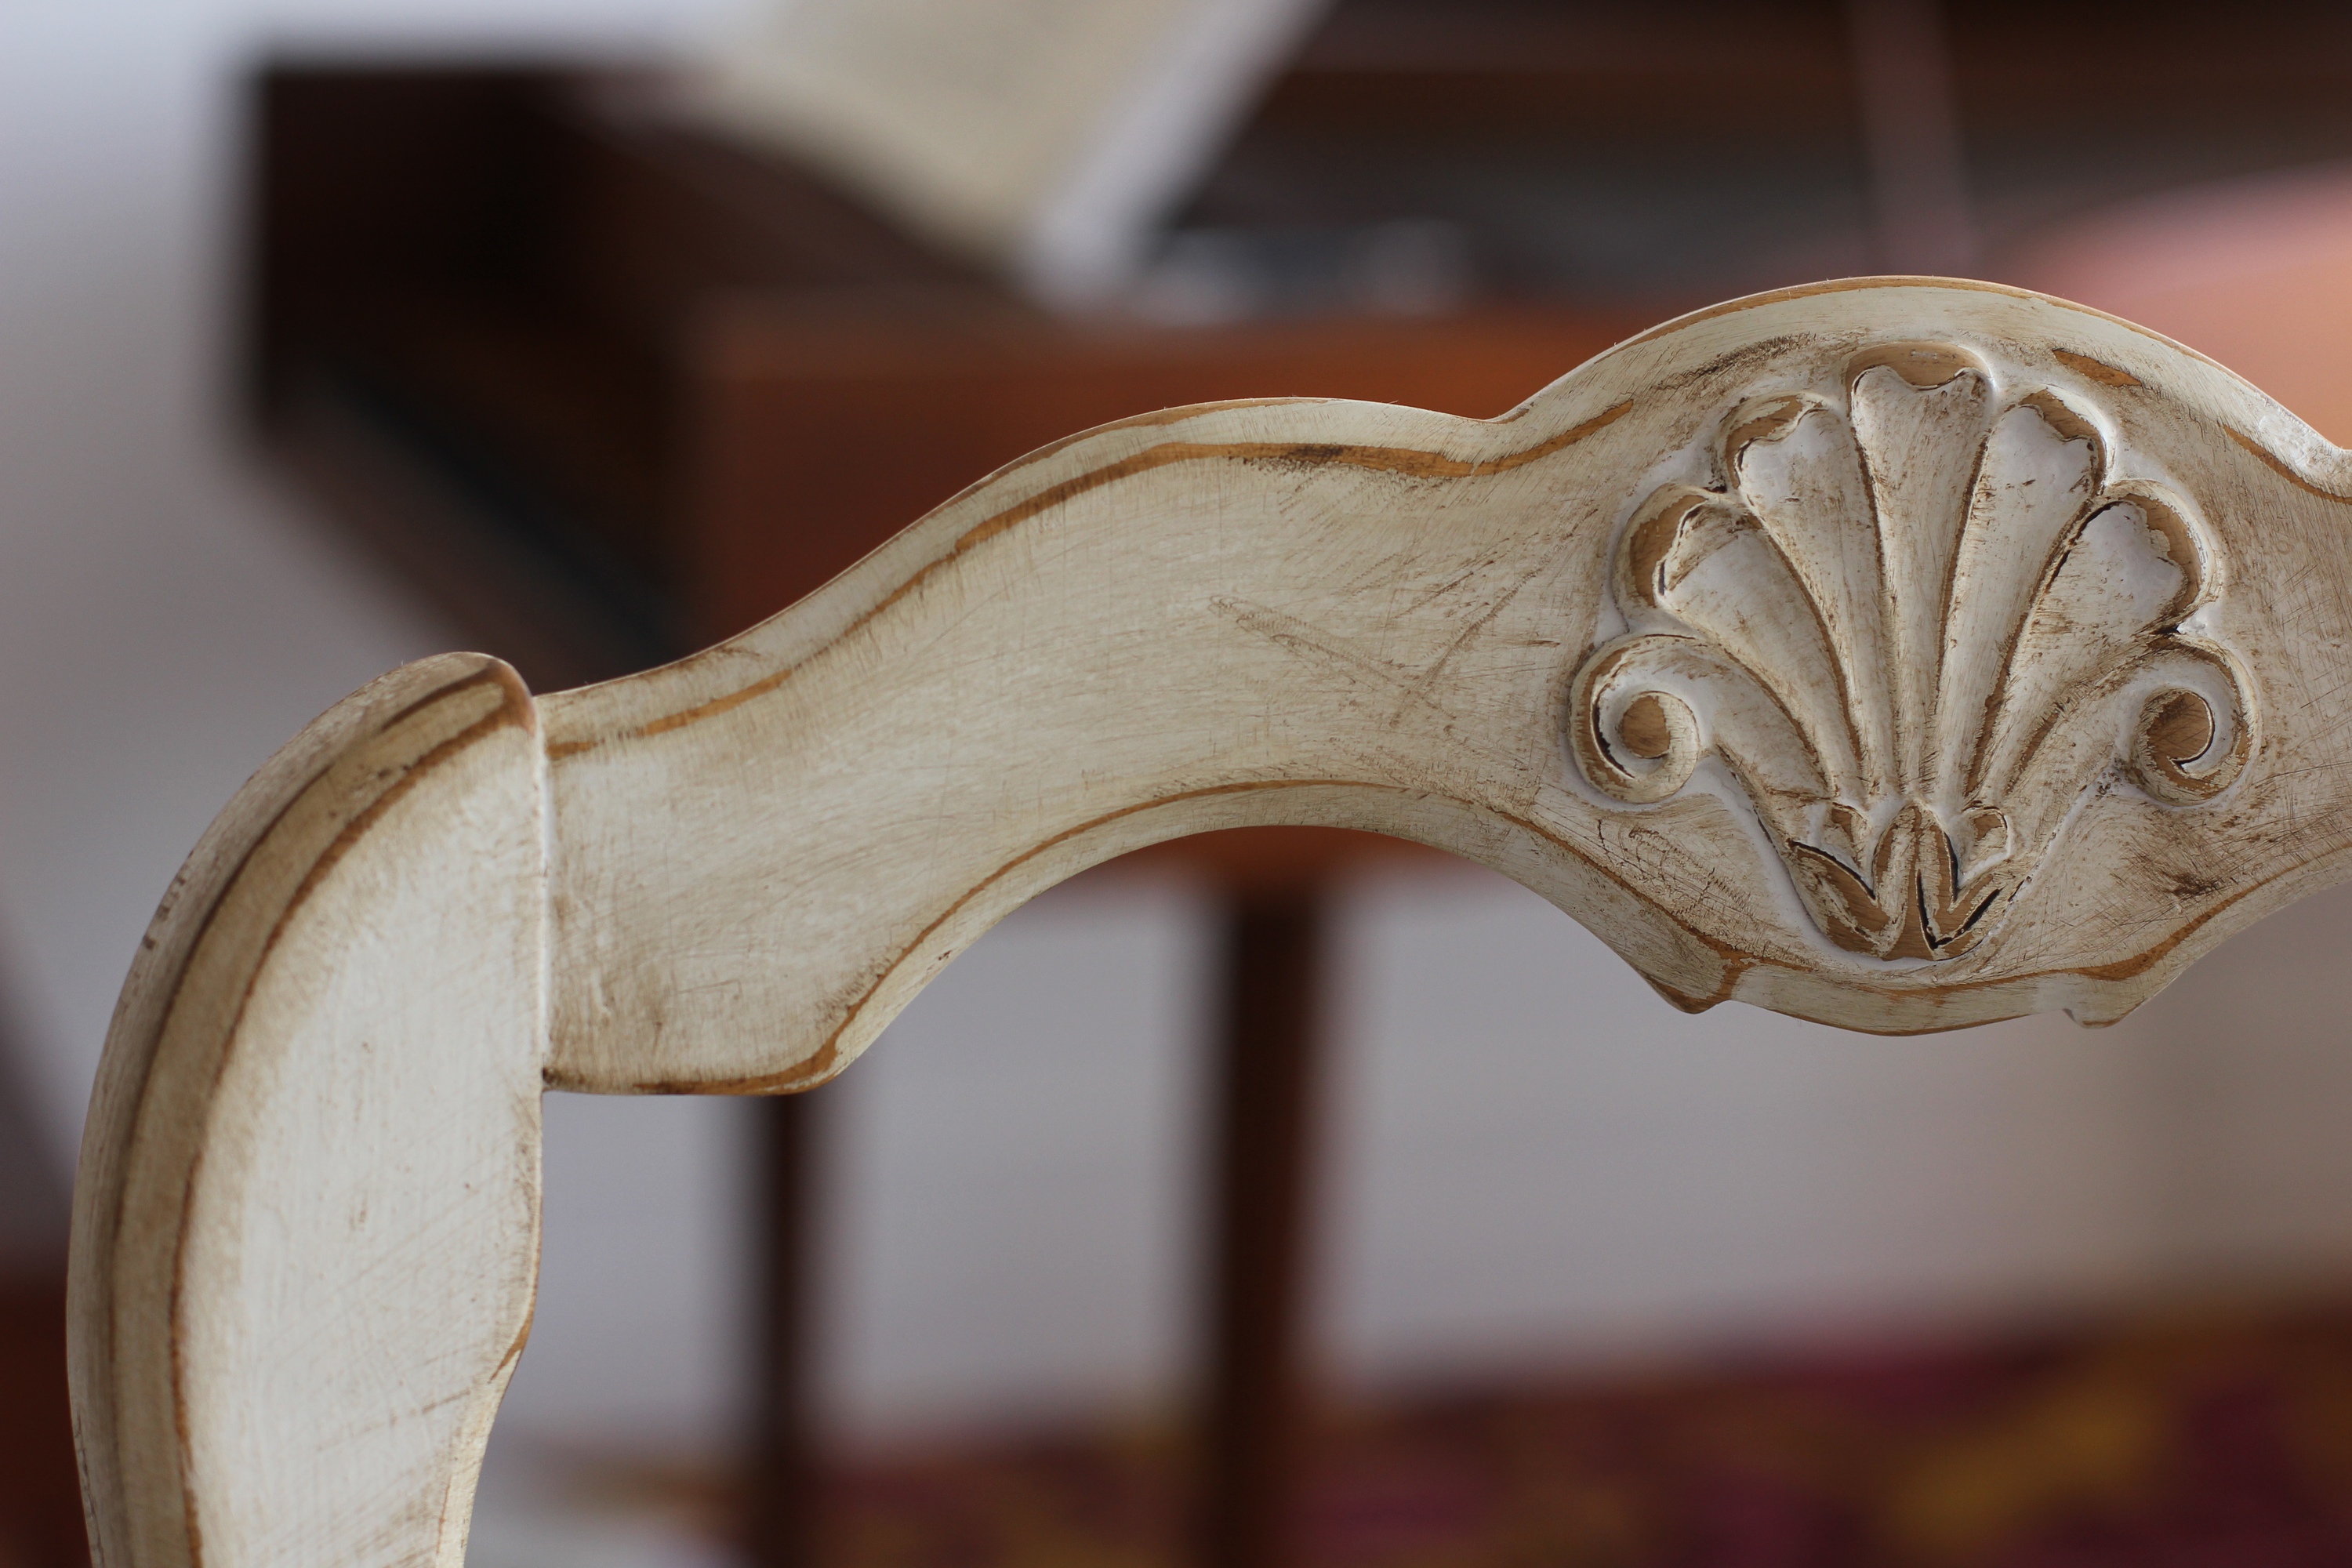
3. The key to distressing furniture is to expose unique high areas of the piece (think about corners and cross-sections), this gives you a very authentic look without looking too manufactured and crafty. I never buy anything that is manufactured to be “distressed”, TACKY! and you can save a ton by doing it yourself.
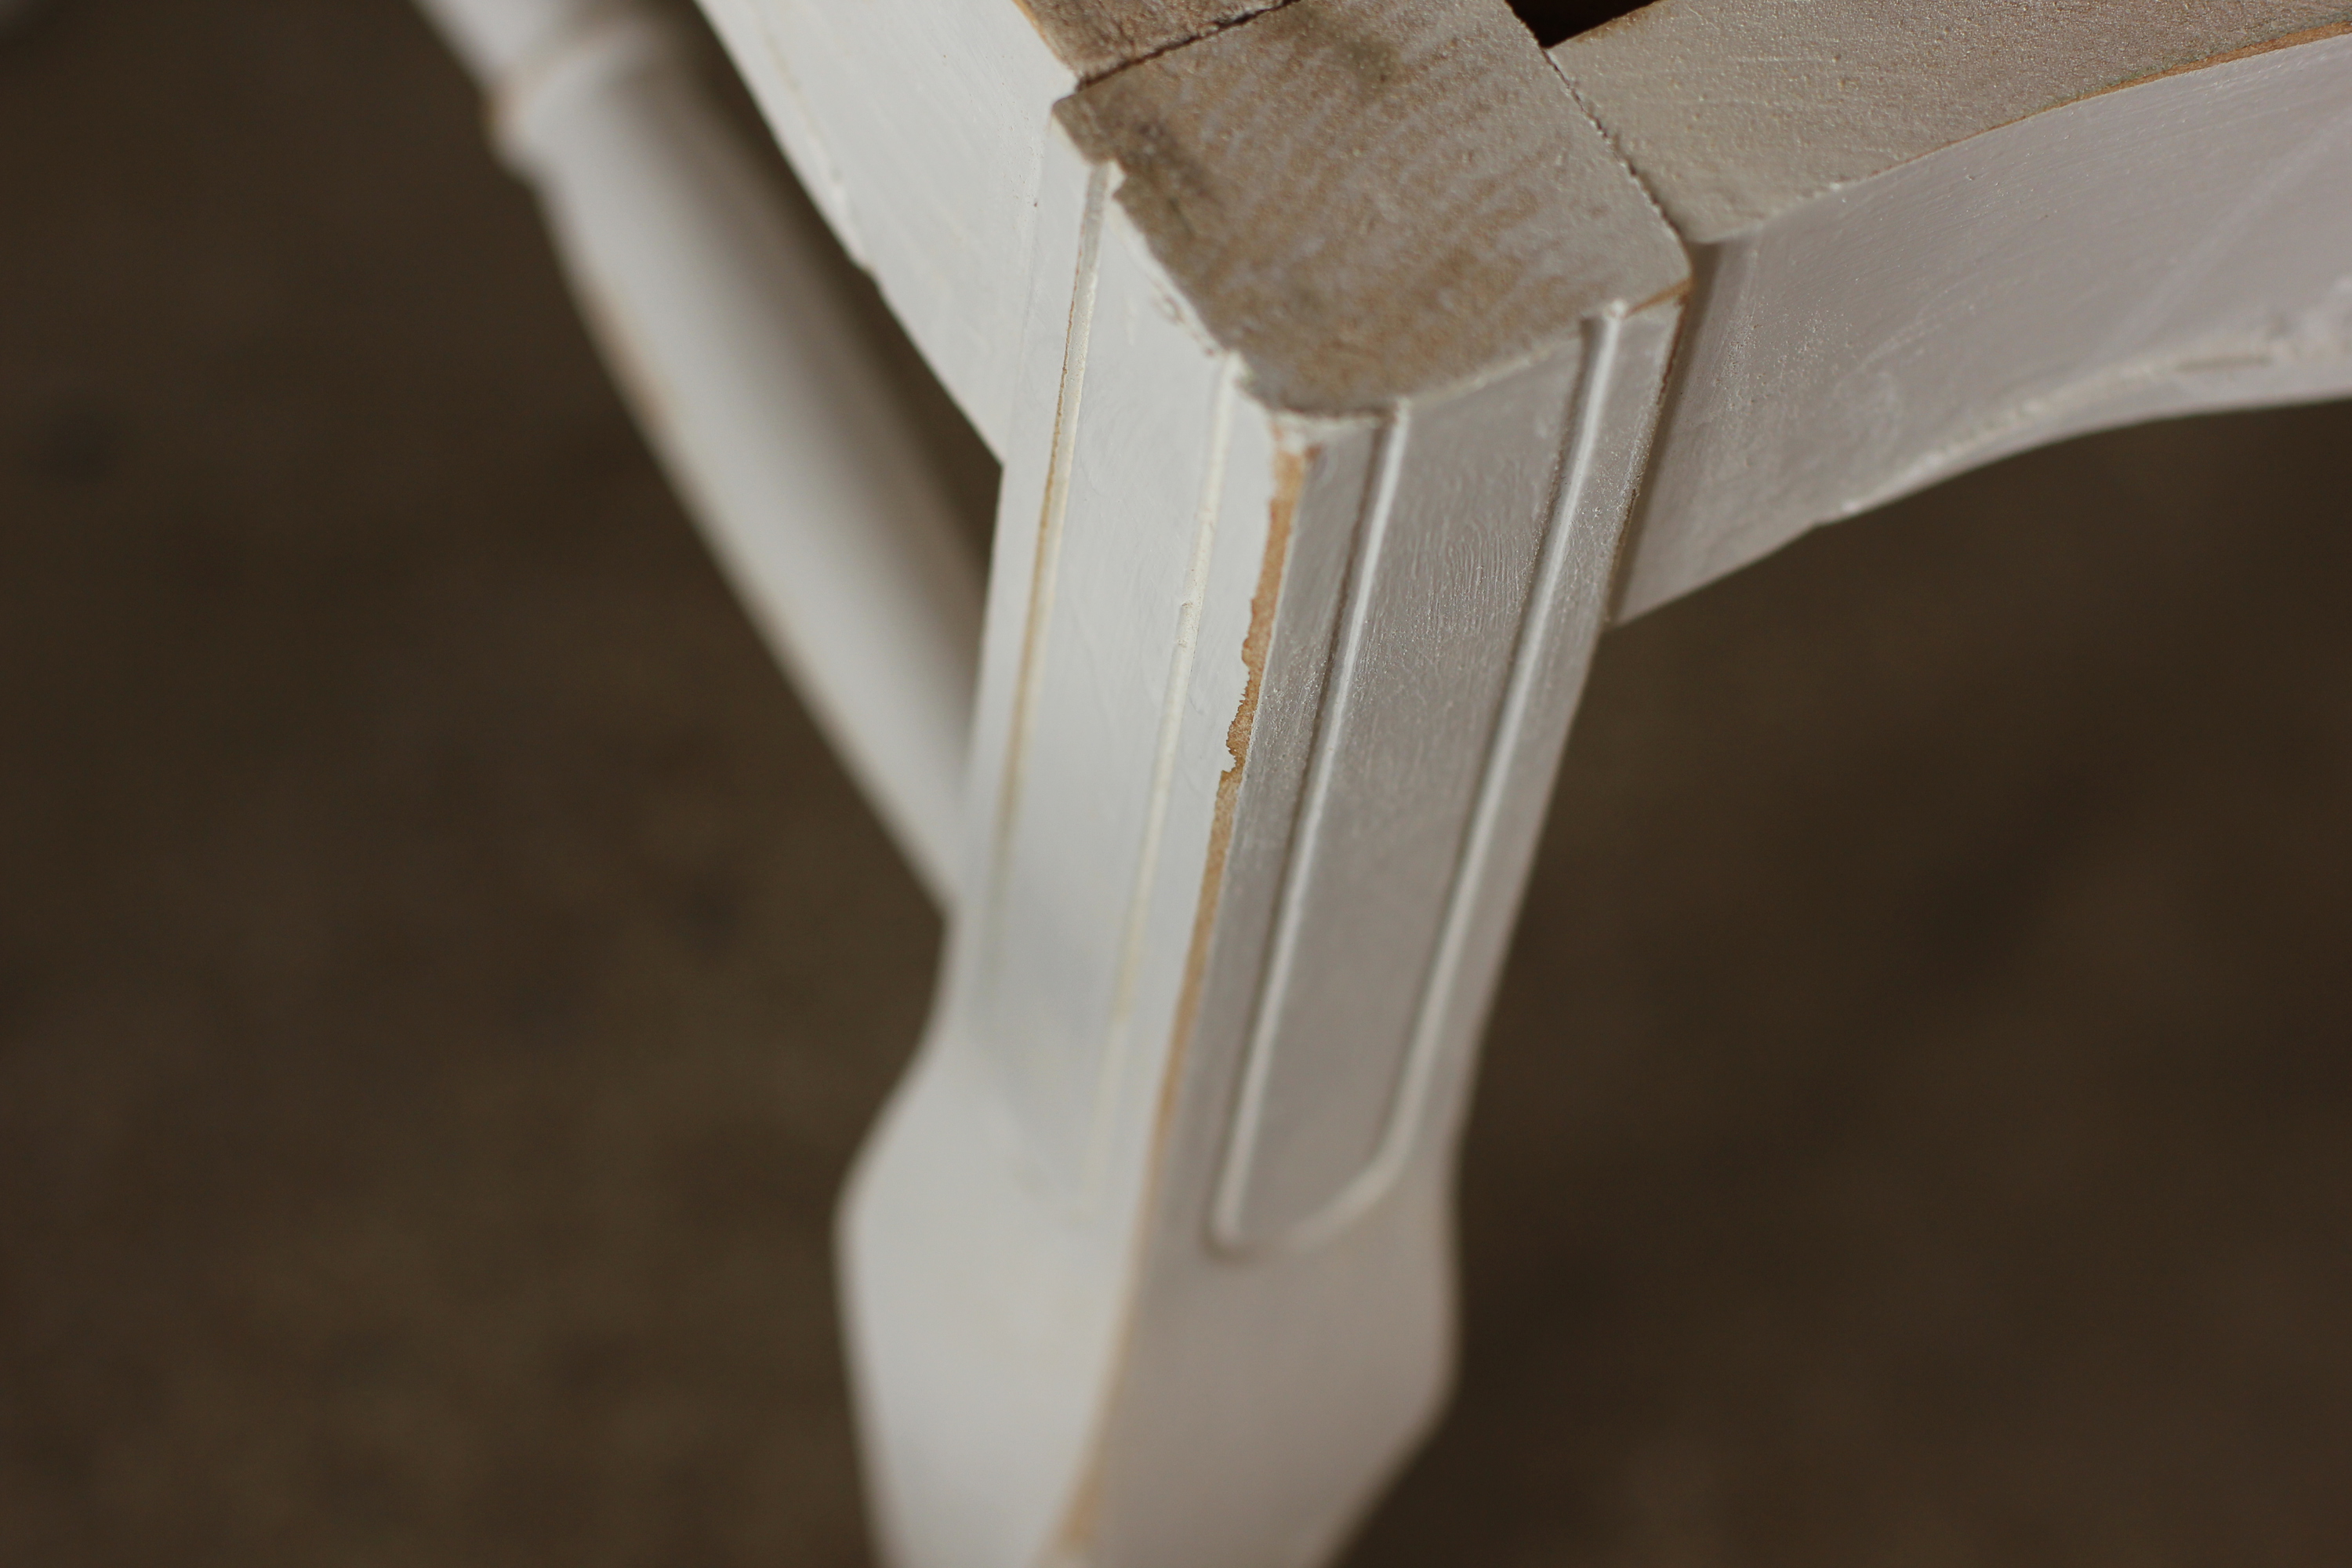
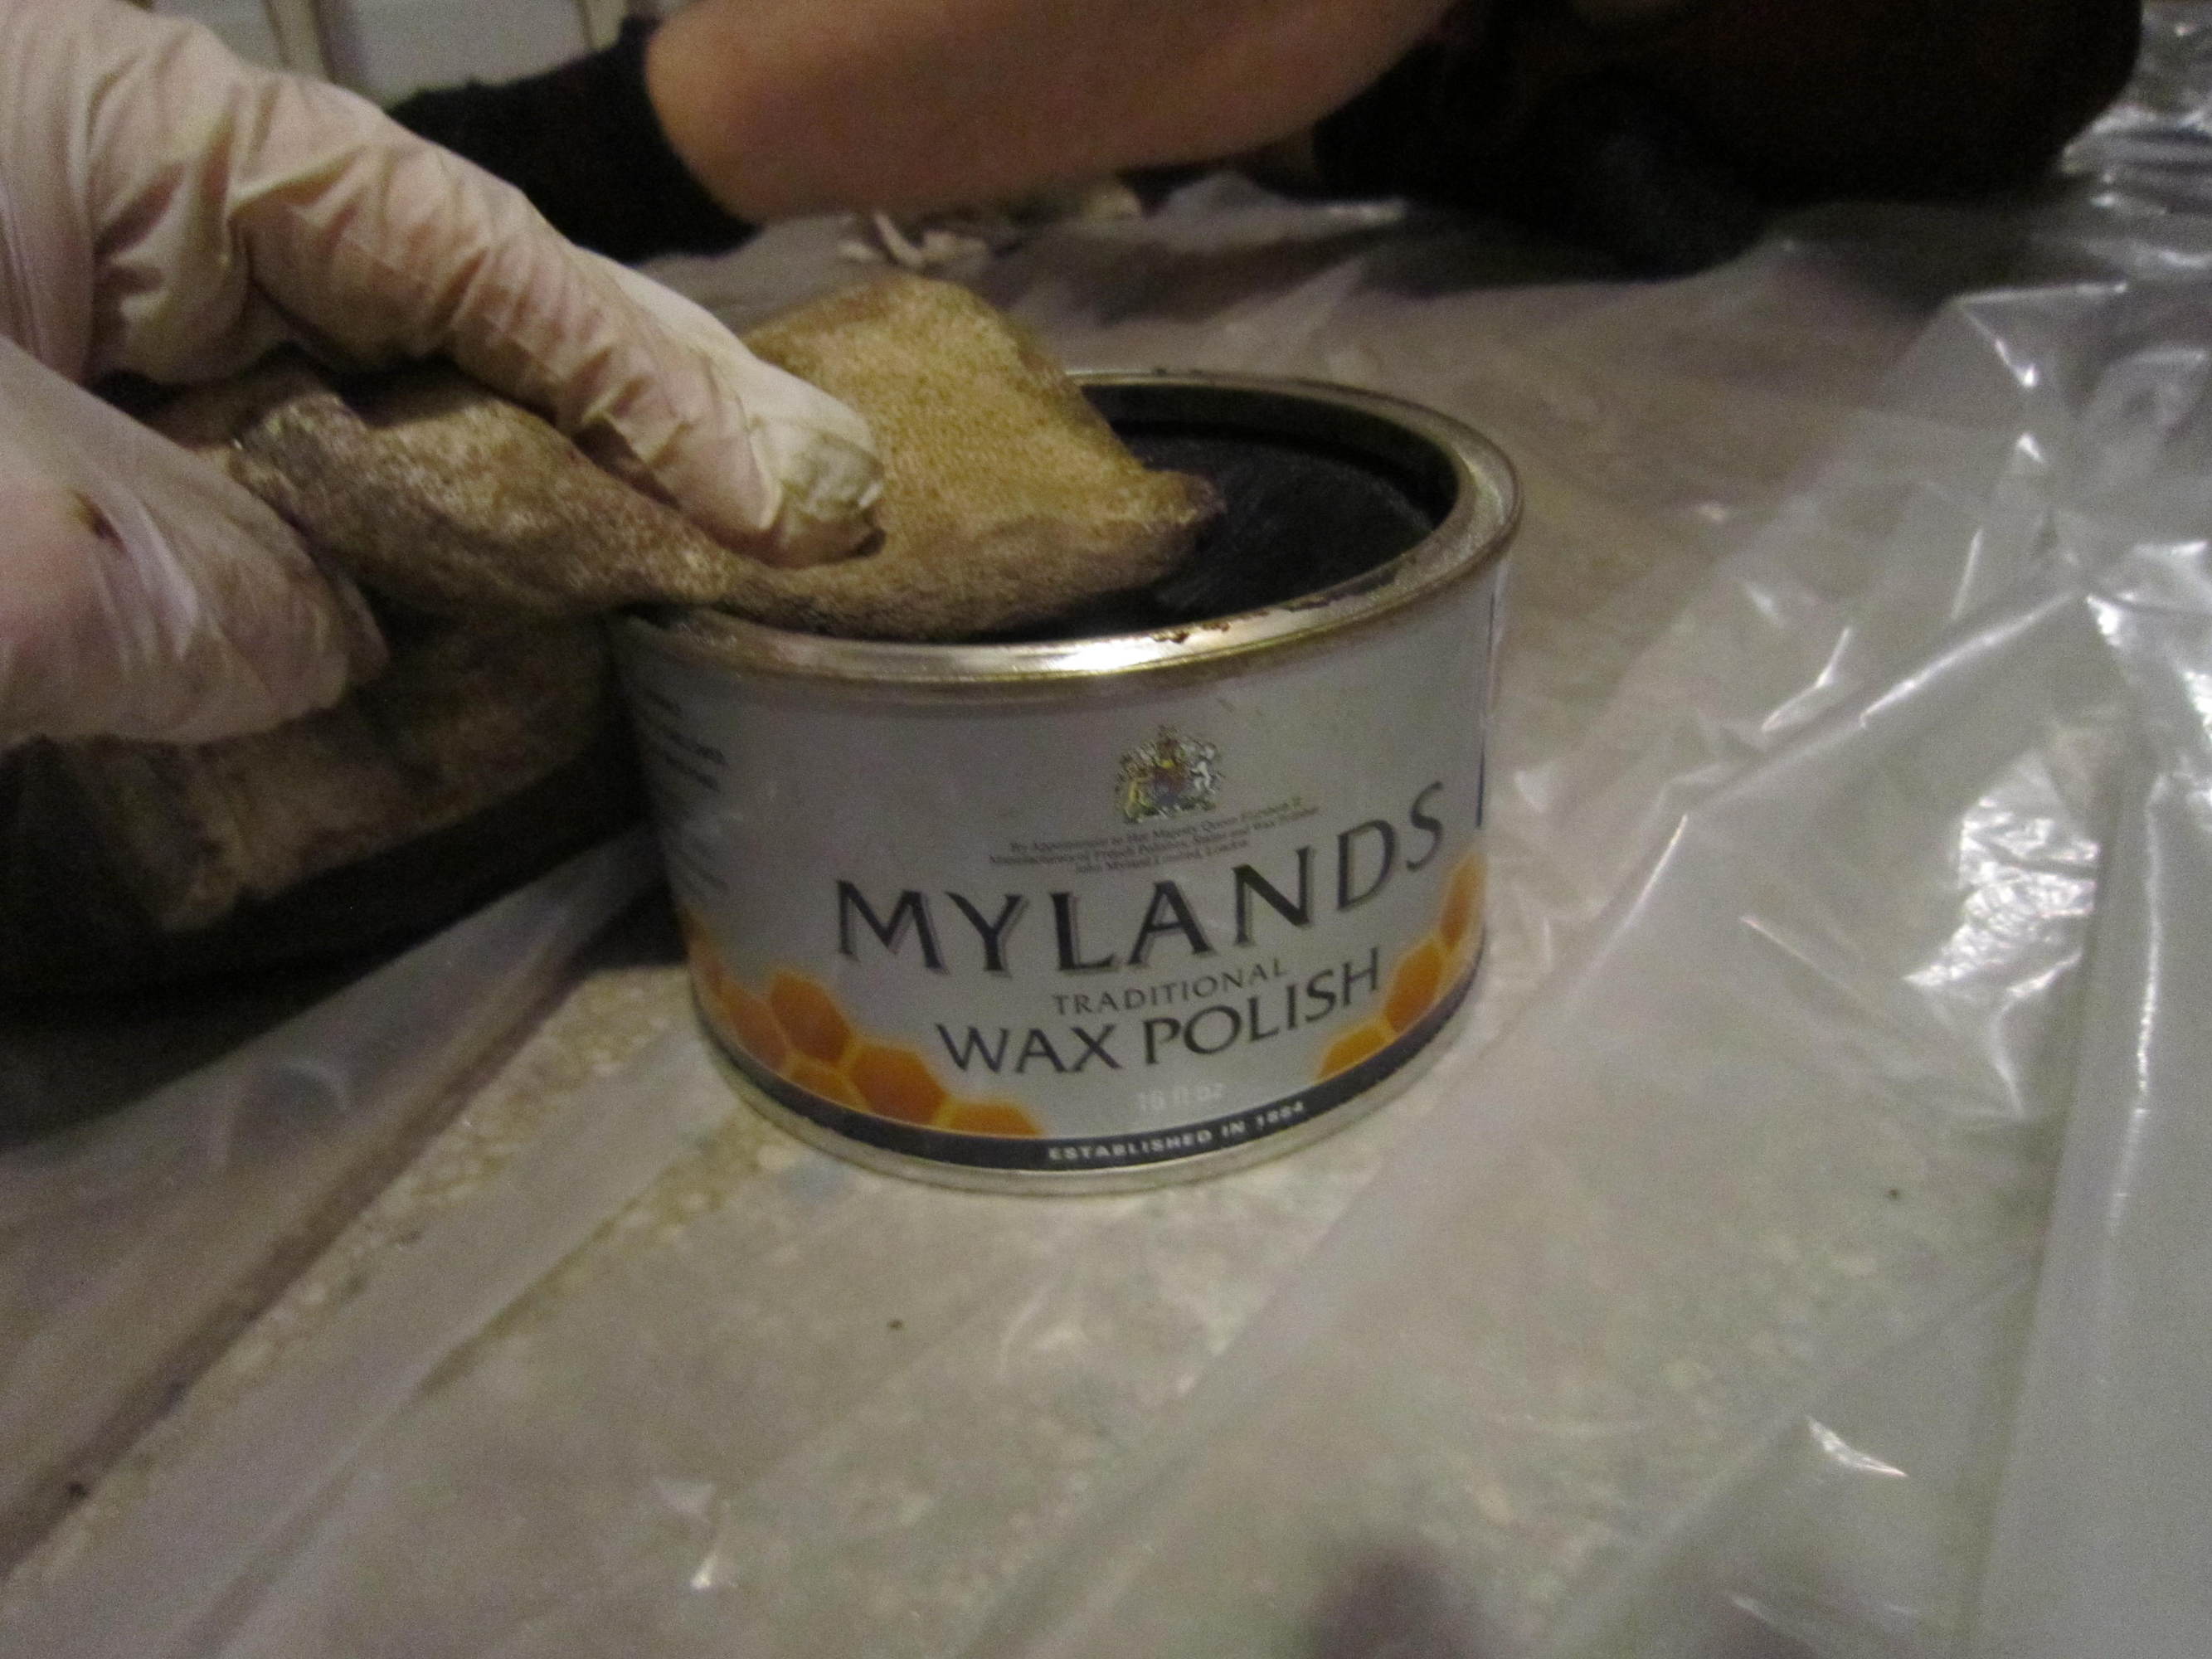
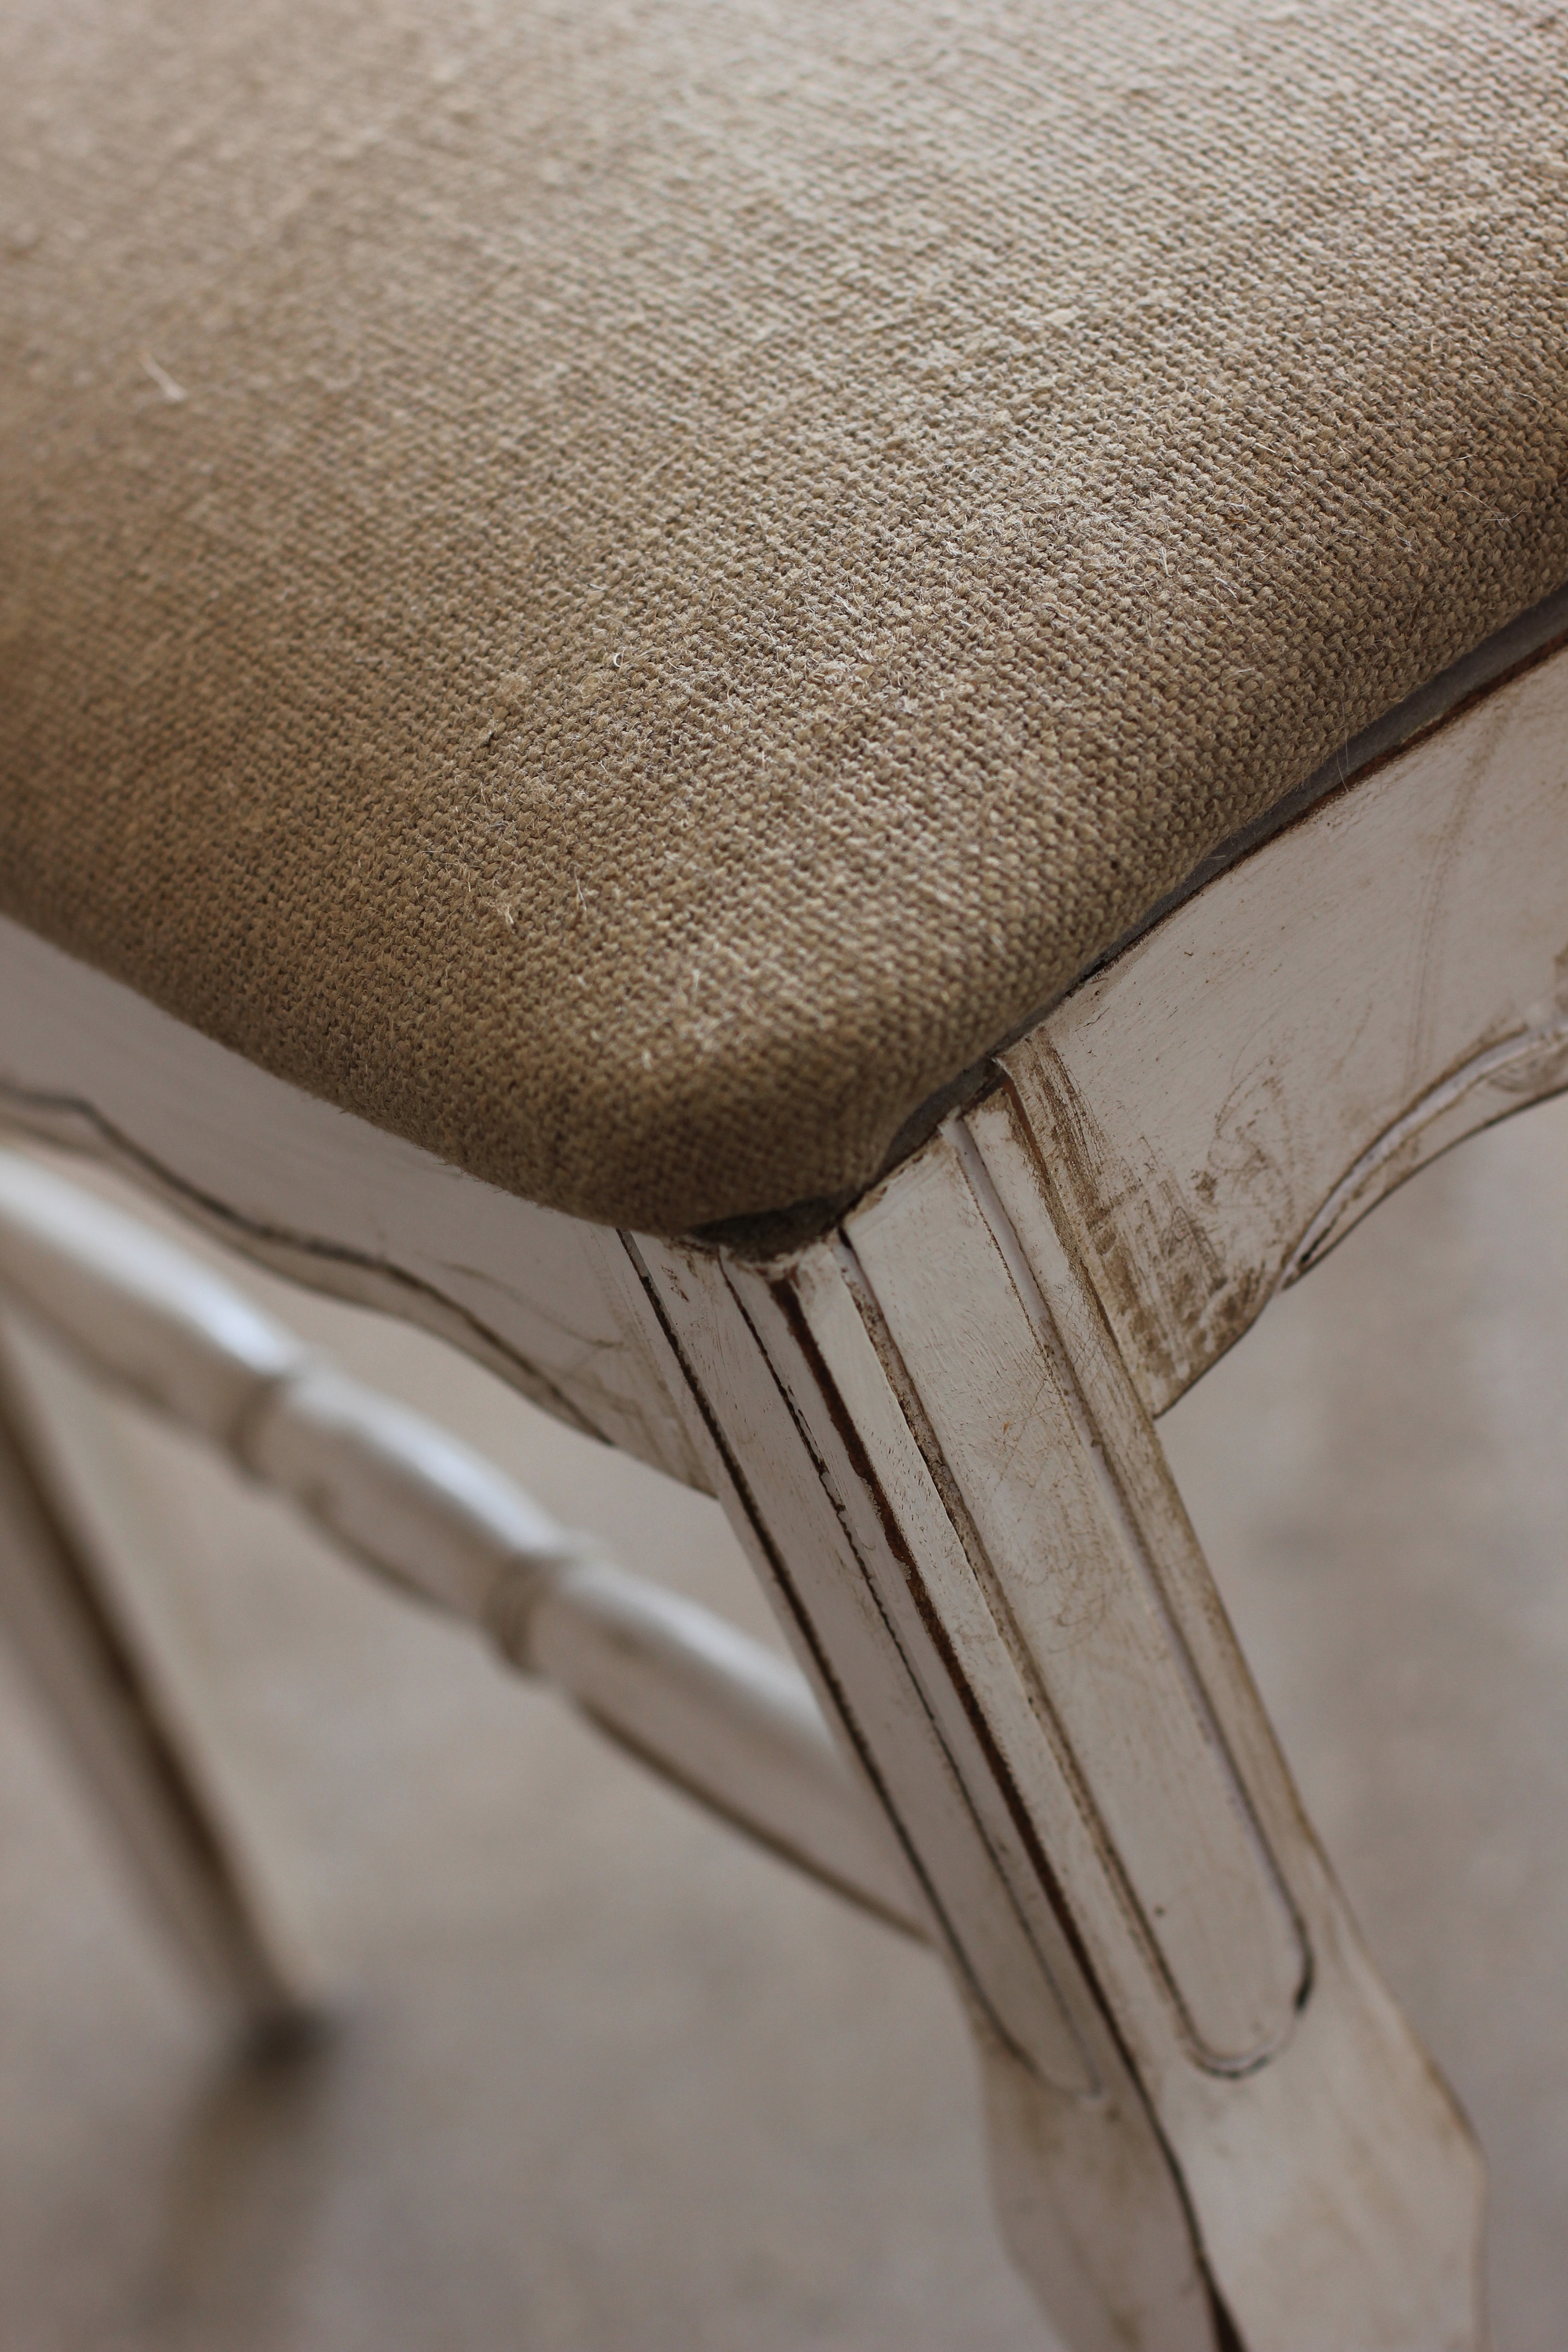
4. After distressing it’s time for the antique finish. There are so many opinions in this step, bloggers have their favorites. Some are good some are expensive, trial and error, right? You most definitely want to use a stain with a wax base, this is easier to apply and wipe off. For this project I choose Mylands Wax Polish, very affordable, easy to find and available in different finishes. Pretty simple: just wipe the wax on, let sit for a bit and wipe the excess off. I’m sort of a perfectionist when it comes to art/design but here you never know what you’re going to get, that’s the beauty of it (I guess). The stain will show in certain places and give you a very antique look. In my experience, the best look is the one you’re not happy with!
5. I scored this aged linen fabric (on sale) from Gray Line Linen in NYC. To keep it simple and quick I removed the piping from the original cushions and covered over the tacky lime green with my linen. Make sure you stretch the fabric tight to avoid any visible creases.
6. Voilà, After the stain dry’s for a few hours, apply some hemp oil to seal the stain giving a rich shine and smooth sealant.
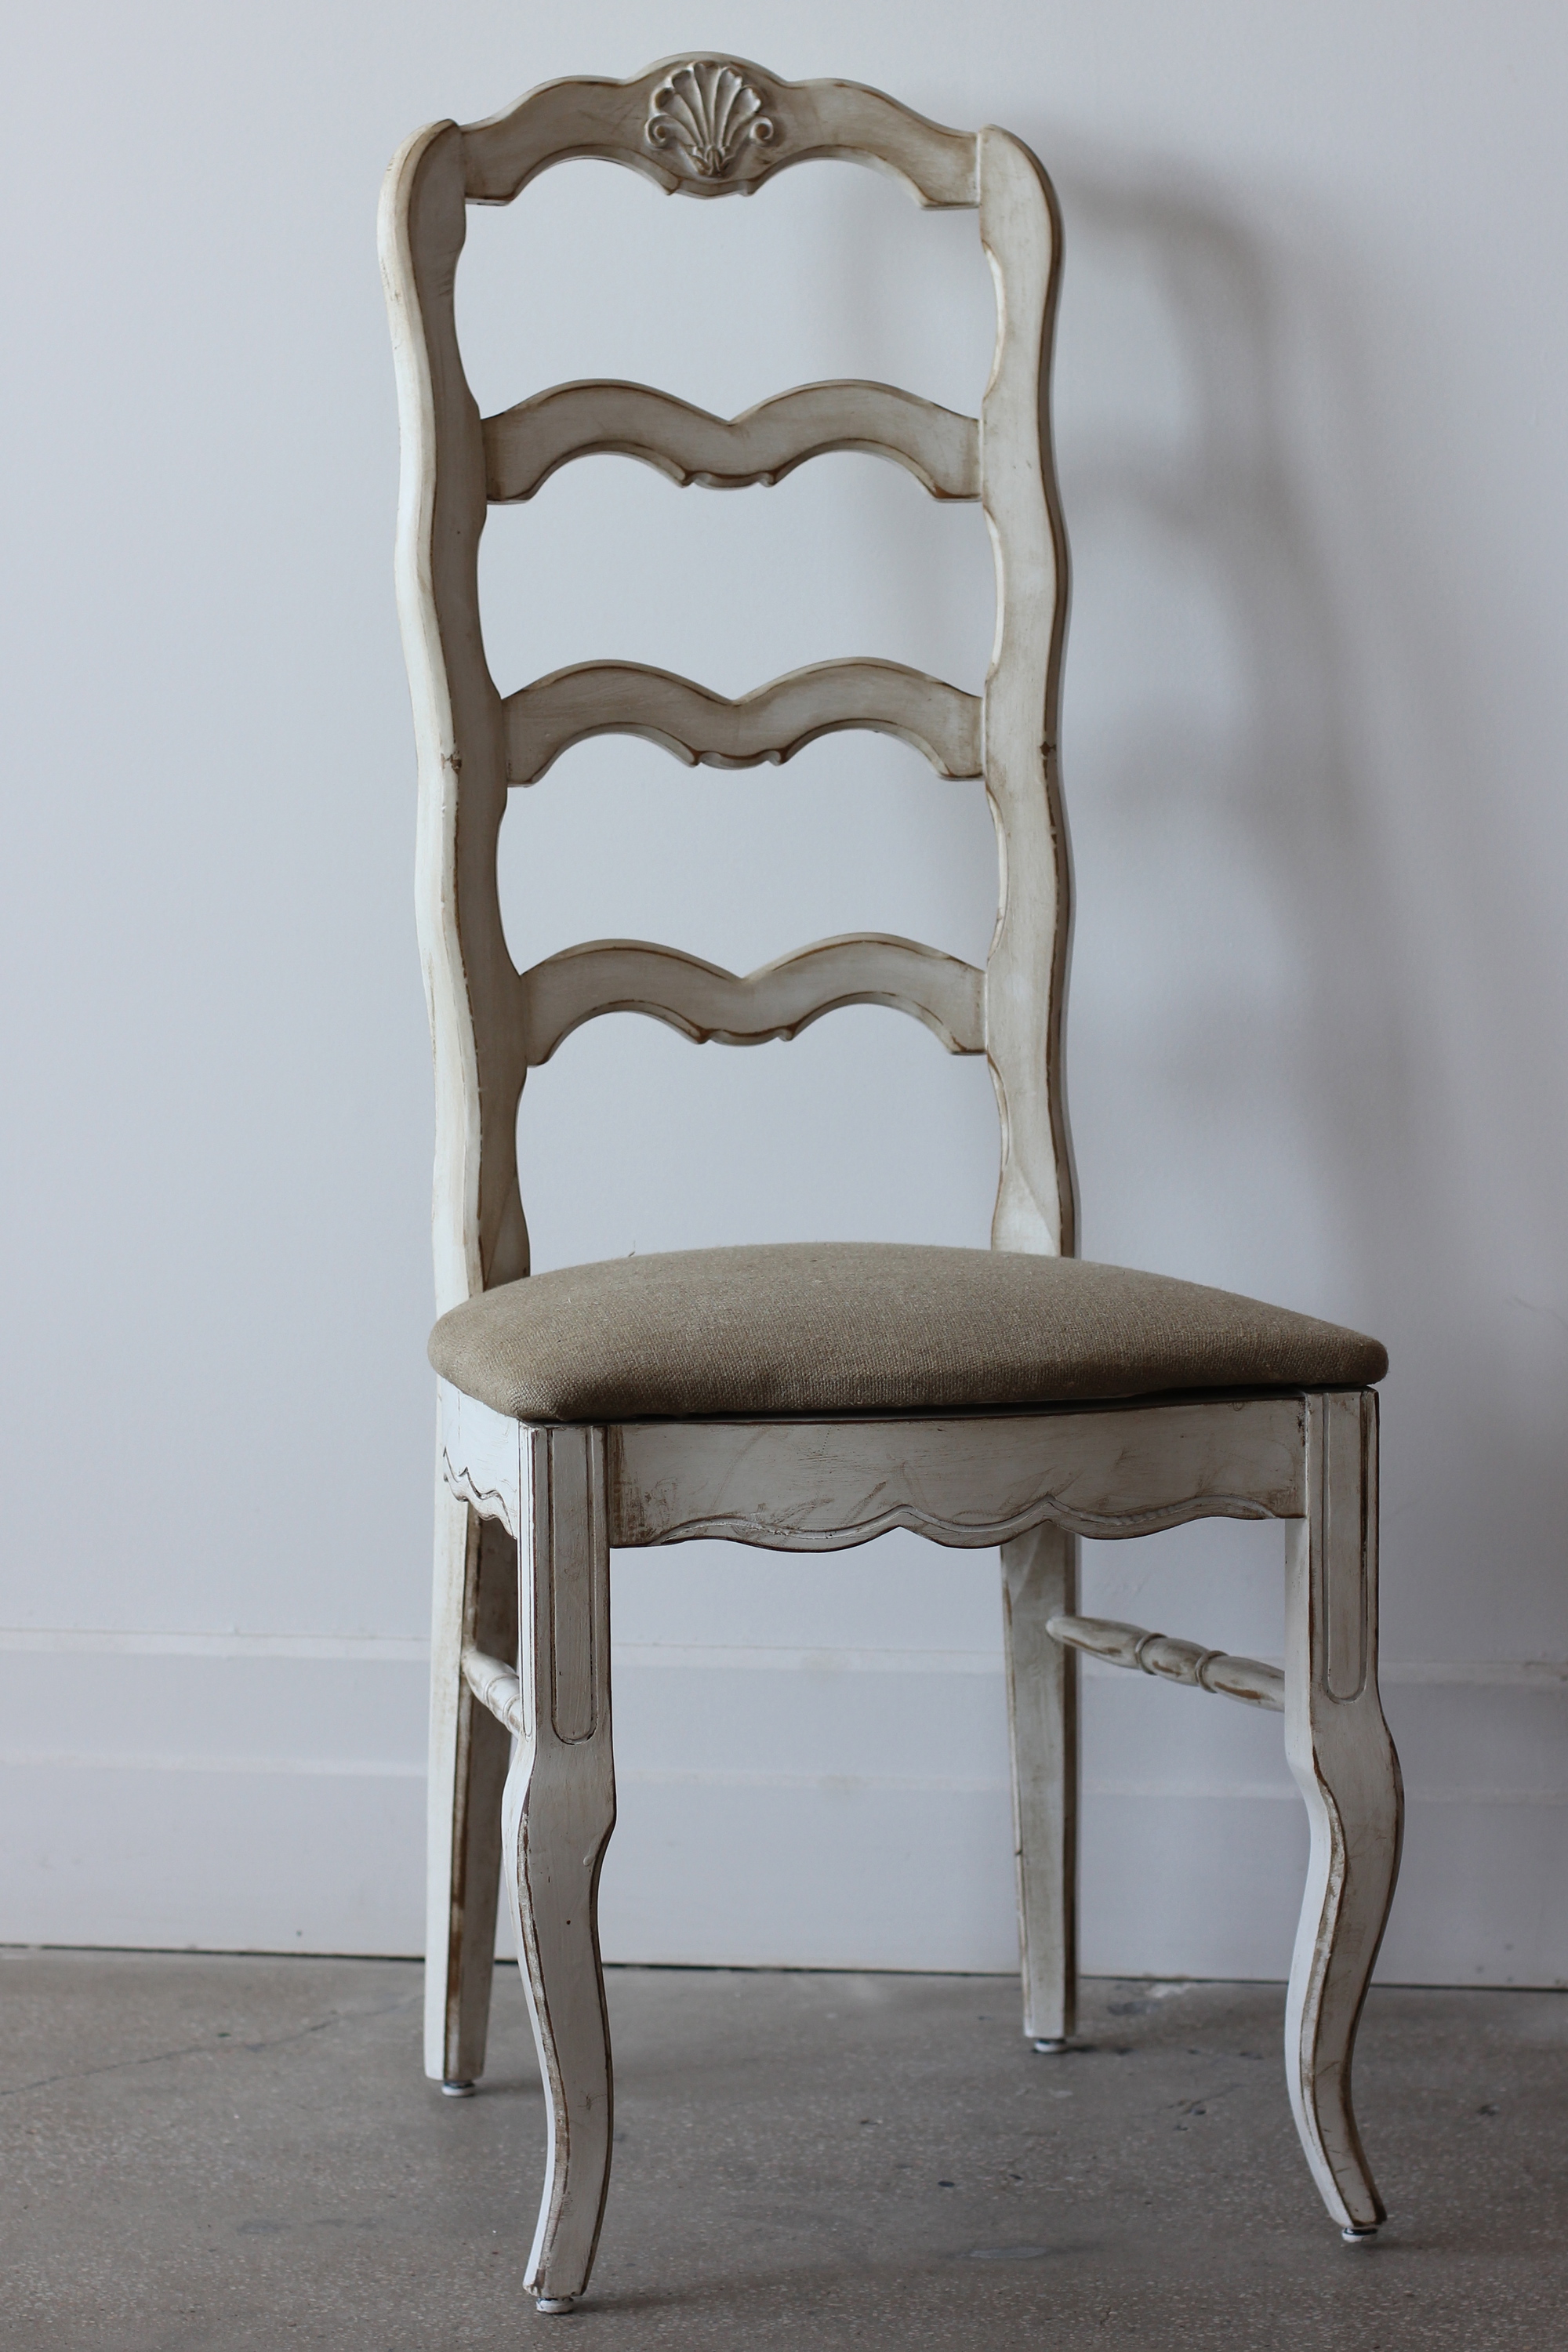
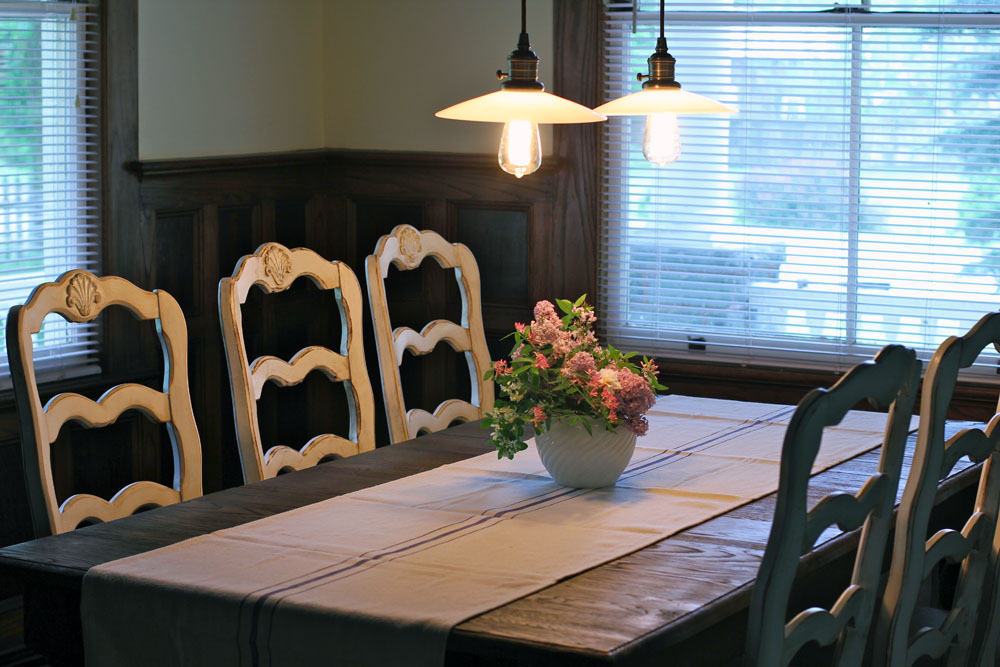
7. Finished product! The great room is still a work in progress but I had to show the dining chairs at the table. More to come…